Holly wreaths are timeless and perfect for the holidays, with their green leaves and red berries. They are linked with Christmas and add festive joy to homes. Making a holly wreath is fun and easy. You can use holly branches, berries, and other greens from your garden or nearby woods. This guide will show you how to make a holly wreath. It will add to your holiday decorations beautifully.
Key Takeaways
- An 18-inch grapevine wreath form is a common base for a DIY holly wreath.
- You’ll need approximately 30 stems of holly, each cut to about 8 inches in length.
- Use 24-gauge paddle wire to secure holly bunches to the wreath form.
- Layer the holly by wrapping the wire around each bunch twice for better security.
- Consider adding a bow or pinecone to enhance the festive appearance of your Christmas wreath.
- Modern wreaths may include features like LED lights and built-in sensors, showcasing technological innovations in holiday wreath DIY projects.
- DIY wreath-making is accessible to individuals of all ages, making it a fun and engaging holiday activity.
Gather Your Materials for a Holly Wreath
Start your holly wreath by collecting essentials. You’ll need a grapevine wreath form, laurel branches, and holly branches with berries. Also, get some twine, scissors, and pruners. You can find these materials in your garden, a local florist, or by exploring local woodlands.
If you can’t find holly branches, try using beautyberry, wintergreen, or sweet box. Holly’s waxy leaves keep the wreath looking fresh and vibrant for weeks. It’s best to wear thick gardening gloves to avoid the sharp leaves.
Using all-natural materials means you can compost your wreath after the holidays. Save any non-recyclable items for next year to help reduce waste. Besides the mentioned greens, feel free to add ivy, mistletoe, pine cones, and conifer sprigs for variety.
Make sure you have the right base for your wreath. You can use flexible woody stems, wire ring bases, pre-made dried moss wreaths, or biodegradable floral oasis rings. The oasis rings must soak for a few hours before use, but they’re great for the environment.
Now that you have your materials, you’re ready to start making your holly wreath. For step-by-step directions, check out this DIY guide.

Natural Grapevine Wreaths:Let your creative juices flow and embellish this natural grapevine wreath base with your own creative DIY touch!Add artificial flowers,ribbon and more to create that special piece!This plain wreaths is made from natural vine stick wreath and is a rustic straw wreath base that may contain leaves and/or pine needles.Each will vary slightly in size and shape due to their natural nature and may not be perfectly round since they are handmade rather than manufactured

Handcrafted with Natural Grapevines – Each SuperMoss Orchard Grapevine Wreath is carefully handcrafted in the USA using high-quality natural grapevines and branches. The twisted twig design adds a rustic organic touch making every wreath unique. Whether displayed indoors or outdoors this wreath brings timeless charm to any space

Value 12-Pack for Layered Creativity: This 12-pack of 4 inch grapevine wreaths offers versatile DIY options. Use each small grapevine wreath individually for accent décor, or layer multiple wreaths on walls for a dynamic, artistic display. Perfect for wreaths for crafts, mini wreaths for crafts, and creative table or napkin ring decorations for holidays and everyday projects
Preparing the Holly for Your Wreath
Before you start on your wreath, make sure the holly branches are ready. Cut the holly to lengths that work best, making them easy to bend. Take off any extra leaves and damaged berries for a neater look.
When handling holly, safety comes first because the leaves are sharp. Wearing gloves can protect your hands. This helps you stay focused on making a gorgeous wreath. For this project, gather 20-25 holly cuttings.
Once you’ve trimmed the holly, check each piece to ensure it’s wreath-ready. The right prep will help your holly fit perfectly, making your wreath look full and rich. A grapevine base is great for holding everything together, no need for wire or glue.
Want your wreath to stand out? Think about adding some special touches. Dried orange slices, pine branches, pinecones, candy canes, or red ribbons can do the trick. These additions are key for a beautiful holiday wreath.
Creating the Base of Your Holly Wreath
Starting with a strong base is key to a great holly wreath. Use a grapevine wreath base for its natural look and firmness. It’s ideal for a DIY holly wreath base because it’s solid yet bendable.
Attach laurel branches to the grapevine form with twine. There are four sizes of wire rings to fit your wreath perfectly. Arrange each branch nicely to cover the base. This makes a full background for the holly and berries, bringing your wreath to life.
| Material | Quantity | Use |
|---|---|---|
| Grapevine wreath base | 1 | Provides the natural foundation |
| Laurel branches | As needed | For greenery backdrop |
| Dried lotus heads | 3 per pack | Add texture |
| Apple, orange, lemon slices | 1 pack | Adds color contrast |
| Cinnamon sticks | 5 per pack | Enhances scent and color |
| Artificial berries | 20 per pack | Add accents in odd-numbered bunches |
This approach not only makes your wreath last but adds sophistication and nature’s charm. By evenly placing each item, your holly wreath will stand out beautifully.
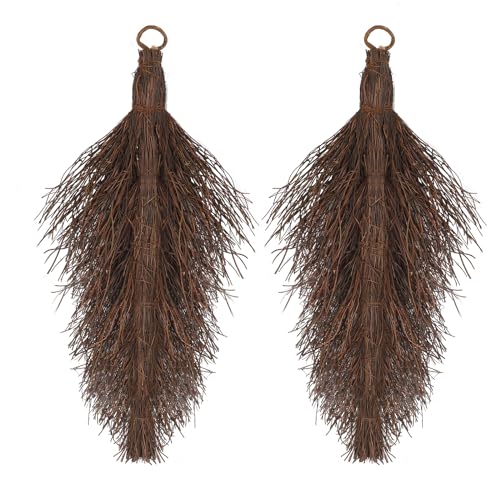
Grapevine Teardrop Swag Base: This Set Includes 2 Teardrop Swag Bases Handcrafted from All-Natural Grapevine Branches, Creating a Blank Foundation for DIY Projects. Each 17-Inch Frame Features a Pre-Built Hanging Loop for Easy Mounting. Expert Hand Weaving Creates a Sturdy Teardrop Silhouette, While Natural Dark Brown Vine Texture Adds Rustic Charm. These Unfinished Wreath Forms Provide a Ready Base for Floral Arrangements, Handmade Decorations and Grapevine Wreaths for Crafts.

Express your one-of-a-kind style with these natural grapevine wreaths. They are perfect if you want to add special touches to your home décor or special occasion crafting projects. They are also great for seasonal and wedding projects, as well as holiday centerpieces.

Wreath Bases for Crafting: Handcrafted Long Vine Floral Frames Made from Premium Natural Grapevine Twigs. Each Wreath Form Measures 15 Inches with 6 Pieces per Package. Hanging Loops on Every Grapevine Stick Allow Easy Display. Featuring Rustic Textures and Durable Handwoven Construction, These Grapevine Wreath Forms Serve as Reliable Wreath Bases for Crafting and Versatile Blank Floral Frames. Designed as a Natural Swag Stick Foundation for Personalized Decorating Projects.
Assembling the Holly Wreath
It’s time to start building your holly wreath and add some holiday spirit. Start by placing your holly branches among the laurel ones. Make sure they are placed where the red berries and green leaves are most visible.
Next, secure each holly branch with twine tightly around the base. This step ensures the wreath holds its shape well. Each twist of the twine strengthens the wreath’s look and durability.
Distribution of leaves and berries is key in the next step. Grouping holly branches together makes the wreath look full and inviting. Add more branches wherever you feel the wreath looks sparse.
Want to add some color? Felt pom-poms from Etsy are great and cost about $8. You can add as many as you like to make it your own. Adding some sparkle with Gold Glitter vinyl can also make your wreath stand out.
Refer to the table below for key information on materials and costs:
| Item | Details | Source | Cost |
|---|---|---|---|
| Wool Felt | 20 sheets, assorted green | Etsy | $13 |
| Wrapped Florists Wire | One roll | Michaels | $3 |
| Felt Pom-Poms | Extra small size | Etsy | $8 |
Making a felt holly wreath takes about an hour. During this time, you can adjust it to look just right.
In the final steps of your wreath-making, enjoy the mix of art and craft. Keep tweaking until it feels like the holidays.
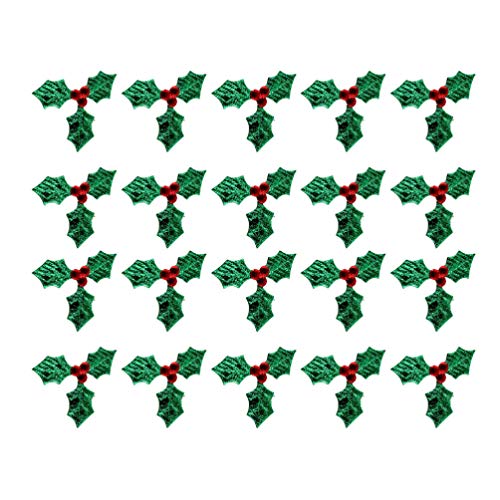
Glitter design: These glitter leaves is sure to capture the attention of anyone who sees them, adding an enchanting touch to your Christmas decorations.

What you will receive: there are 3 pieces felt garland of different styles, which including 1 piece felt garland banner, 1 piece red and white felt ball garland, 1 piece green, red, and white colored felt ball garland; Satisfy different decoration needs
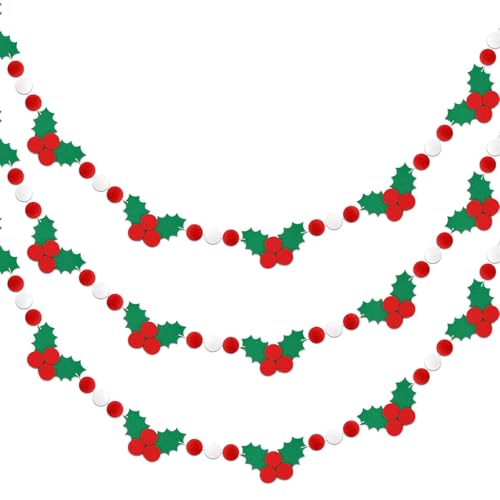
Rich Christmas Ball Garland Set: Holly and berries felt banners set, carefully equipped with 3 strings of beautifully decorated Christmas felt ball garland, can instantly enhance the festive feeling and meet your diverse decorative needs, whether used as the ornament of the Christmas tree or hung on the doors, windows and walls
Finishing Touches for Your Holly Wreath
After attaching the holly and laurel, it’s time for the holly wreath finishing touches. You can add pinecones, dried seed heads, or battery-operated fairy lights. These make your wreath pop and give it a personal touch.
To make it festive, think about adding ornaments or more ribbons. Using deco mesh and ribbons, cut them into 13-inch pieces for color and volume. Mix colors and patterns for different looks. A 10-inch Holly Jolly sign can be your centerpiece. Use florist wire or twisty ties to keep everything in place.
Next, fix any loose parts and trim extra bits. This is important for a neat, professional look. If you’re using fairy lights, weave them into the greenery for a soft glow.
Adding greenery like eucalyptus, bay, or rosemary brings out your wreath’s natural beauty. Try using about 10 different plant types for a varied and striking effect. Cut these mixed bunches to around 10 inches for the best look.
Decorating your holly wreath lets you show off your creativity. Go simple with a rustic bow and a few cones, or aim for a lavish look with lots of decorations. The final touches make your wreath special.
In under an hour, you can turn a basic wreath into a stunning enhancing holly wreath. It’s great for home decor or selling at craft shows. Enjoy decorating!
Displaying Your Holly Wreath
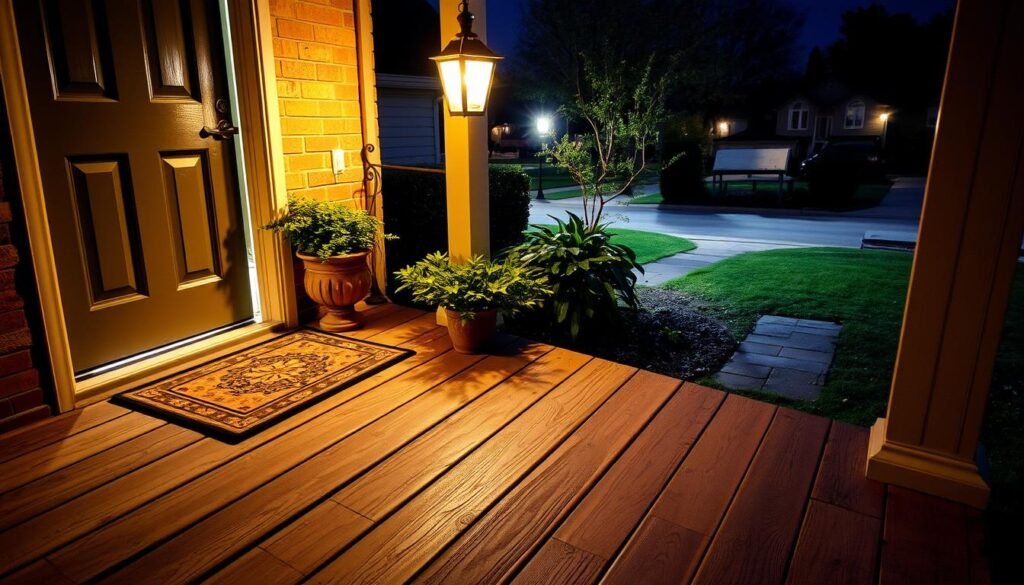
Finding the best spot to show off your holly wreath boosts its beauty and how well it’s seen. Many opt for the front door, greeting guests warmly as they come in. You might also place it above the fireplace or on a key wall inside for a cozy touch.
Make sure the spot you pick fits the wreath’s needs. Outdoor spots mean the wreath faces weather, like sun, which could fade it. Choosing a partly shaded area helps keep it looking fresh all season.
It’s key to pick a spot where your wreath can shine. A place where family and friends gather, like the living room or the entry, is perfect. To make everything look united, match the wreath with other holiday decor in that area.
Also, think about how secure and good-looking the spot is. Make sure the wreath is well-fixed to avoid falls, especially outside with wind. Your hard work in making the wreath deserves a careful and noticeable spot, keeping it a treasured part of your holiday decorations.