Welcome to our comprehensive guide on how to screen in a porch using an aluminum frame system. If you love DIY projects or are new to homeowning, this guide is for you. It will show you how to make a beautiful outdoor space with durable aluminum porch screen frames.
For nearly 200 years, screens have been a staple for porches, doors, and windows. They keep pests out and make your home more comfortable. Thanks to technology, DIY porch screening is now easier with pre-made frames and kits, making installation neat and simple.
If you’re starting fresh or updating an old porch, this guide is your go-to. You’ll learn how to measure correctly and pick the best materials. This guide covers everything, from choosing the right screen to installing it right. Get ready to enjoy a peaceful, screened porch.
Key Takeaways
- Learn step-by-step how to screen in a porch using aluminum porch screen frames.
- Understand the benefits of using aluminum frames for DIY porch screening projects.
- Discover the best tools and materials for an efficient installation process.
- Get tips on selecting the perfect screen material for your needs.
- Maintain your screened porch effectively for long-lasting enjoyment.
Introduction to Porch Screening with Aluminum Frames
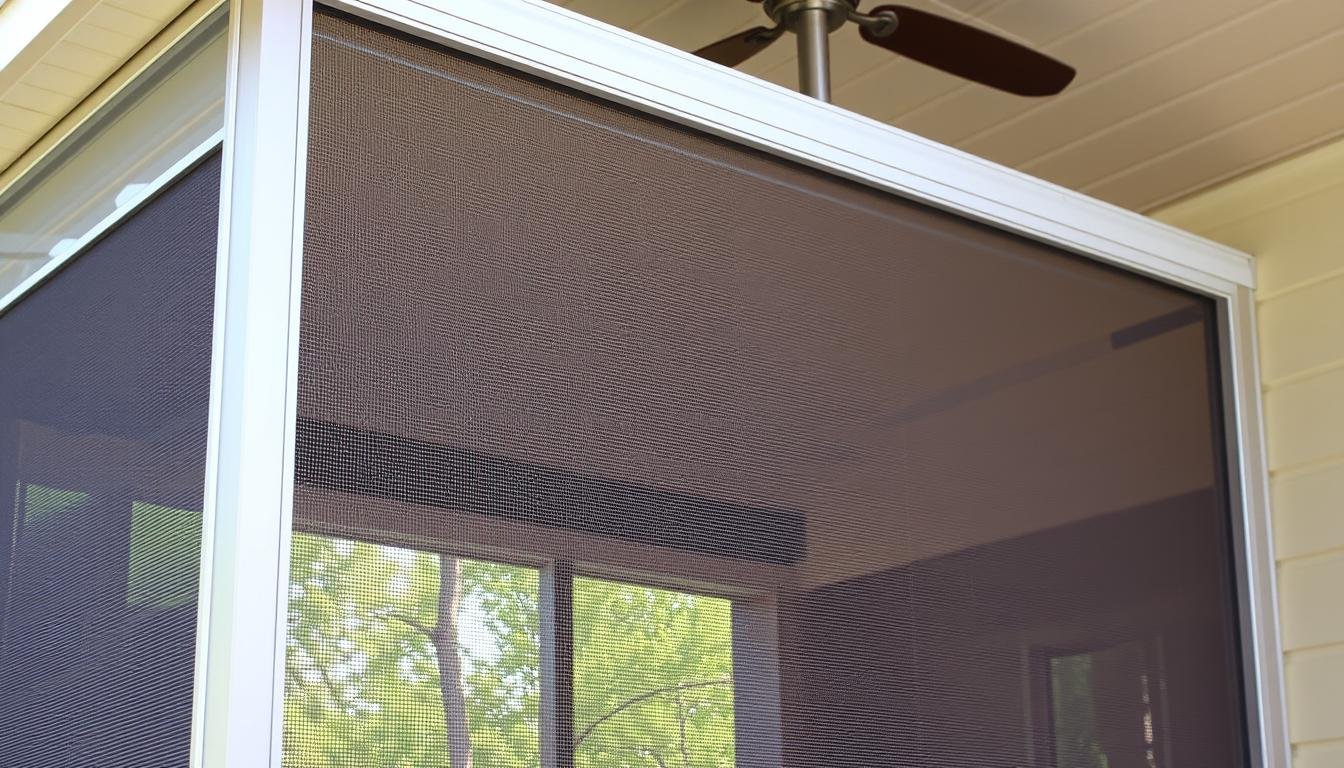
Porch screening with aluminum frames is getting more popular. It improves outdoor living spaces by looking good and being functional.
Aluminum screen frames are known for lasting a long time. They don’t rust, making them perfect for all weather. The Fast Track system stands out. It has 1-in x 2-in channels that can be used in many ways. This encourages creativity in designing porches.
Using aluminum frames makes setting up easier. The Fast Track is quick to install, even on existing porches. It lets you combine channels into larger posts or rails. This makes the porch look good and stay strong.
These frames also make porches look better. They come in various finishes like white, bronze, and black. This means they can match different styles. Your porch will look great, whether viewed from inside or outside.
Aluminum frames are also practical. They work with Pet Doors and Vinyl Doors. You can mix them with systems like MeshGuard. This shows how flexible aluminum porch screening is.
Choosing aluminum for your porch means it will last and need little upkeep. It adds value to your home. Using modern methods turns your outdoor area into a special place to relax.
Tools and Materials You Will Need
Starting your DIY screen porch means having the right tools and materials. It’s key to have accurate measurements for the aluminum frame. Brands like Screen Tight offer base systems in different sizes. They come in widths of 1.5 inches and 3.5 inches, and lengths of 8 feet. This gives you many options for your project.
You will need tools like tin snips for cutting aluminum and a power drill to secure the frame. A spline roller is also needed to make sure the screen fits tight. For installing the screen, you’ll use the Screen Tight Cap, available in many colors. The caps vary in size and length, allowing for customization of your porch.
When choosing screen material, think about fiberglass and aluminum, each with its own benefits and downsides. Fiberglass is more budget-friendly, while aluminum and stainless steel last longer but cost more. Use the right spline size to add tension without harming the screen.
For the best installation, put screws not over 2 inches apart at the end of each base strip. Avoid cutting corners with the strips for a smoother fit. Then, the cap can easily clip onto the base, securing from one end to another for a tight hold.
Shopping at trusted stores like The Home Depot lets you find quality materials all in one spot. A DIY screen porch can save money on labor and give you the joy of creating a comfy outdoor area.
The Screen Tight system works great for big openings and won’t sag. It’s made from a durable material that resists weather and UV damage. The cost for a screened-in porch varies by size, with smaller porches starting at $1,000 and larger ones reaching over $3,000. Careful planning and measuring can help you avoid extra costs and ensure a good installation.
Preparing Your Porch for Screening
Starting the journey of porch screening begins with making sure everything is ready. This includes cleaning and checking the porch from top to bottom. Make sure to remove any dirt, spider webs, or old screens. A clean and stable area is important for your work.
First, thoroughly examine the structure of your porch. Make sure the beams and posts are strong and not damaged. Fix any issues right away. This ensures the new screens will be supported well.
Then, measure your porch carefully. Getting the size right helps avoid wasting materials and money. Also, remember to wear safety gear like goggles and gloves when you cut or drill.
Here are the first steps to take for porch screening:
- Clear any old screening materials.
- Thoroughly clean the porch structure.
- Inspect and repair any damaged areas.
- Measure your porch dimensions accurately.
- Gather all required tools and materials.
Screening your porch also involves some costs. The price usually runs between $3 to $5 for each square foot. Don’t forget to include the price of permits, which could be $100 to $300. Plus, set aside a little extra money, about 10%-25%, for any surprises.
Keeping your porch clean and stable helps a lot with installing new screens. This work leads to a strong and good-looking porch.
Installing the Aluminum Frame
Starting your installing the aluminum frame project is becoming a favorite for DIY-loving homeowners. First, you need to set up the base channels. Place them around your porch opening carefully to keep your structure strong. Make sure the base strips are placed right. Also, don’t tighten the screws too much to prevent the frame from bending.
Getting your aluminum porch setup aligned is key. At the corners, just butt the base strips together without cutting them in angles. This makes porch screening installation easier. Attach clips near each corner and every 14 to 16 inches along the base, with #10 x 1 1/2″ stainless steel screws. This secures the frame to the wood structure of the porch.
Then, you’ll put in C-channels, H-bars, and corner bars. These parts make up the frame for your screen panels, which usually cover about half of the porch’s height. It’s best to install vertical channels before horizontal ones to ensure your frame is stable.
Try using the Fast Track aluminum framing system’s special 1″x2″ channels. They snap together, making strong 2″x2″ posts or rails. Secure horizontal posts with 3″ screws and vertical posts with #8 x 4 1/2″ screws and nylon nuts.
Using hidden fasteners, like in the Fast Track system, means no screws show on your porch. To finish your porch screening installation, a vinyl cap locking system is often used. It holds the screen material tight, making your porch look good and last longer.
By following these steps and choosing the right tools, your installing the aluminum frame project will enhance your home. It will be both strong and look great.
Selecting the Right Screen Material
When picking screen material for your porch, there are a few things to think about. You want to make sure your outdoor area is cozy and safe. Knowing about different screen types helps you make a smart choice.
Fiberglass screens are a top pick for many. They come in various colors and improve the view by reducing sun glare. Fiberglass is also easy on your wallet, which makes it popular with homeowners.
If you’re looking for something tough, other materials might fit better. PVC-coated polyester is very strong. It stands up well to pets, weather, and the sun. So, it’s great for areas that get really hot or have a lot of sunlight.
Choosing between fiberglass and aluminum? Here’s what you need to know. Aluminum costs more, about 33% more than fiberglass, but it lasts longer. However, it does not do well in humid or beachy areas because it can corrode. This makes fiberglass or PVC a better choice for your screens.
For those with pets or kids, screens that resist damage are important. They don’t tear easily, but they do cost more and can blur your view a little.
The best screen for your porch depends on what you need. Think about durability, price, and where you live. Taking time to consider these things helps you make a space you’ll enjoy for years.
Attaching the Screen to the Frame
Precision is key when attaching the screen to the frame. Cut a large piece of screen mesh to cover the frame opening. Lay the screen flat over the frame, making sure it’s tight and smooth.
First, press the screen into the frame’s groove at one end. This step is key for a tight fit. A 1/8 inch by 1/8 inch groove holds the spline perfectly.
Use a specialized tool with two different wheels to roll the spline into the groove. This method, called using spline for screens, holds the screen in place firmly. Add a slight bow to the frame with clamps for tightness.
The frame works best with .290 or .310 flat spline for strong screen hold. Keep pressing the screen into the groove on the other side, working steadily. This is a very effective way to install screens.
After the screen is in place, trim extra material with a sharp knife. This makes it look neat and professional. Smoothing the groove’s edge with 100-grit sandpaper can stop the screen from tearing.
Here is a detailed comparison of what the aluminum screen frame kits include to assist you further:
| Frame Kit Size | Number of Fasteners | Length of Spline Included |
|---|---|---|
| 1″ x 2″ x 8′ | 25 | 35′ |
| 1″ x 2″ x 10′ | 30 | 45′ |
| 1″ x 2″ x 12′ | 35 | 52′ |
Finish the installation with stainless-steel or brass nails to secure the screen moldings. Using these screen installation techniques, your porch will look professional and last long.
Maintaining Your Screened Porch
Taking good care of your screened porch helps it last longer and work better. If you have an aluminum frame, regular upkeep lets you enjoy your porch all year. This is especially true in warm places like Jacksonville, Florida.
To start, clean the aluminum screens often to get rid of dirt and dust. Use a soft brush and gentle soap. Try not to harm the screen. Check the porch regularly to catch any problems early. The frames and screen edges are where damage happens most.
- Bi-Annual Inspections: Check for any loose or damaged aluminum frames, and address them promptly.
- Replacing Spline: Over time, the spline that holds the screen in place can deteriorate. Replace it as needed to maintain a tight, secure fit.
- Cap Strips: Use cap strips to protect the screen edges from wear and tear.
- Seasonal Maintenance: Inspect your porch before and after storms to catch any tears or damage early on.
- Re-Screening: Depending on usage and environmental factors, occasional re-screening might be necessary to handle persistent wear.
Part of routine upkeep is checking how thick your frame systems are. For example, a 2″ x 2″ extruded aluminum porch system is strong and lasts long, with .062″ thick walls. The 2″ x 3″ system is for bigger spaces and still handles wind well because of its 3″ depth.
Even though aluminum is sturdy, regular maintenance is key. Doing porch screening yourself can save money, it might cost around $500. But, paying pros—between $2,000 to $5,000, depending on what you use—means the job is done well and lasts.
Keeping your screened porch in good shape is not just about how it looks. It’s about making your outdoor area last longer and stay useful. Cleaning and caring for it lets you enjoy a nice porch all year.
Conclusion: Enjoying Your Screened Porch
Adding an aluminum frame makes your screened porch amazing. It makes outdoor spaces comfy and boosts your home’s value. You can enjoy fresh air without bugs and have a space to use almost all year.
Screened porches are great for more than just comfort. They add special spots for relaxing or having fun with friends. Starting at $450 for DIY, you can make it fit your budget. With professional help, it can cost up to $20,000 for extra features.
A well-kept screened porch lasts many years. It makes your home look better and gives you more room. It’s a smart choice whether you’re staying or might sell your home. Choosing special materials like pet-resistant screens adds even more benefits.
The benefits of a screened porch make it a top home improvement. Whether it’s a DIY project or done by pros, it fits well with your home’s look. It gives your family many joyful outdoor days without the common outdoor annoyances. Enjoy making your outdoor living better and love the comfy space a screened porch offers.