Rescreening your porch is an excellent way to update your outdoor space. It keeps the area comfortable and free from bugs. The task may seem difficult at first, but it’s simple and manageable, even for newbies. Doing it yourself saves money and feels rewarding. We’ll guide you through the necessary steps to successfully rescreen your porch without too much trouble.
Key Takeaways
- Approximately 30% of homeowners need to replace or repair their porch screens due to wear and tear.
- Visible holes or tears are found in about 25% of aging screens, while frayed edges occur in 15% of cases.
- The average lifespan of a porch screen is around 5 to 10 years, depending on maintenance and exposure to elements.
- Fiberglass screens make up 50% of the market, while aluminum accounts for 30%.
- The average DIY rescreening project requires six essential tools, including a screen rolling tool and a utility knife.
Understanding the Basics of Porch Screens
Porch screens are key to enjoying the outdoors comfortably. They keep bugs away while letting fresh air flow in. Knowing the types of porch screens and what they offer is essential. Various screen materials cater to different needs and weather conditions.
Fiberglass, aluminum, and PVC-coated polyester are common screen materials. Fiberglass, available in many colors, reduces sun glare but is easily damaged.
PVC-coated polyester is great for those with pets or in areas prone to corrosion. Aluminum is more affordable but dents easily and doesn’t do well in moist or coastal areas.
The right frame for your porch screen is crucial. Choices include wood, aluminum, or plastic. Wood options like Douglas Fir are pricey, costing $12 to $16 per piece. Protecting wood with a special coat adds $30 to $45 per gallon to the cost.
Aluminum frames are light and fight corrosion but may not be as strong as wood. Plastic frames offer strength and low upkeep costs. A simple 10’x10′ porch screen kit costs between $50 and $300. Bigger porch projects can go up to $1,000.
Your selection among fiberglass, aluminum, or PVC-coated polyester affects your screened porch’s lifetime and upkeep costs. Motorized and retractable screens are popular but pick your material wisely to reduce damage risks.
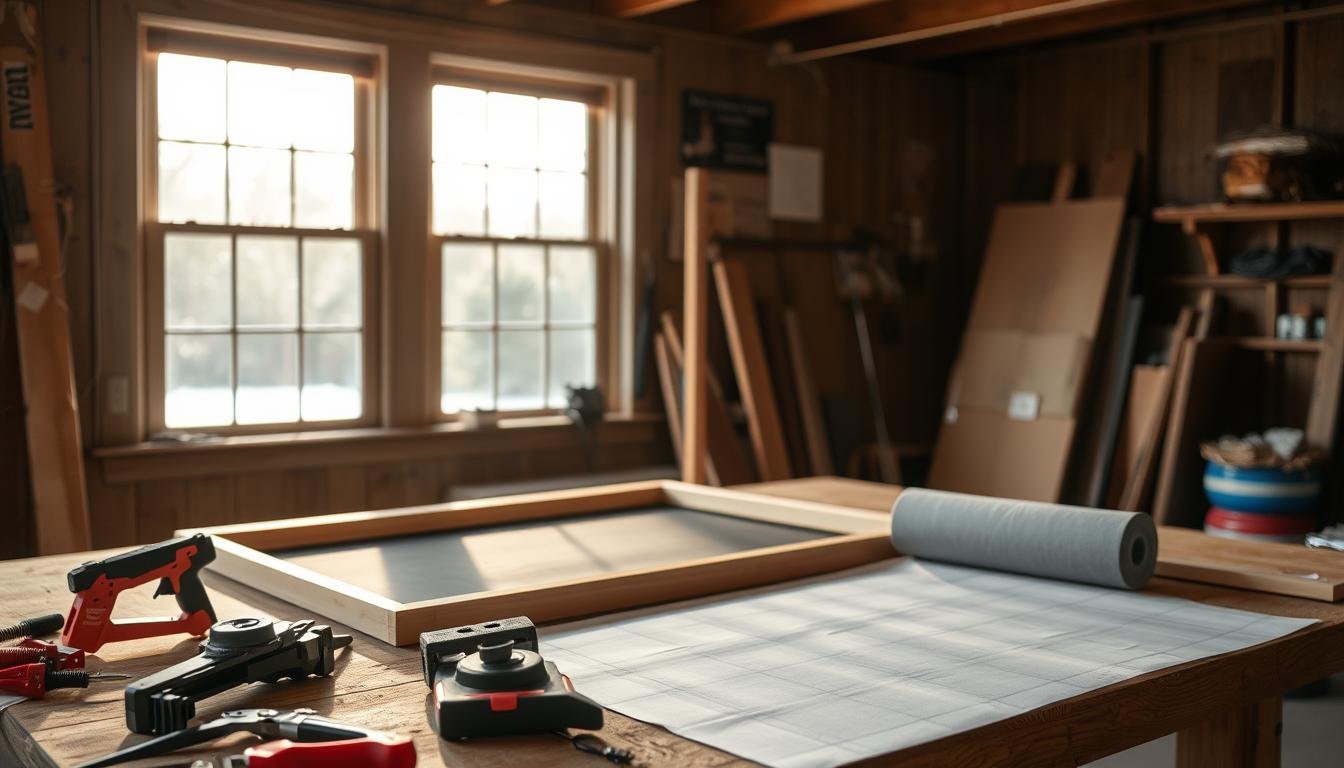
Tools and Materials You’ll Need
To do a great job rescreening your porch, you need the right screen replacement tools and porch screen materials. Here’s a list of essentials for a smooth job:
- Spline Roller: A key tool for pressing the spline into the frame, holding the screen tight.
- Scissors and Utility Knife: Must-have items for cutting the screen to fit just right.
- Cleaning Supplies: Clean the frame well with these before starting, getting rid of any dirt.
Next, let’s talk about the porch screen materials you’ll need:
- New Screen Mesh: Choosing the right screen mesh matters. Fiberglass screens are popular, found in 60% of homes. Aluminum screens are also a choice, used about 30% of the time. If pets are part of your family, pet-resistant screens are a good option, used by 20% of pet owners.
- Spline: This cord locks the screen mesh into the frame. Make sure it’s the right size for your frame.
Stocking up on a DIY screen repair kit is also smart. It gives you extra materials and tools for quick fixes.
| Optional Tools | Purpose |
|---|---|
| Pliers | These help take out the old screen and spline. |
| Hook Set | This helps pull the old spline out more easily. |
| Spline Mouse | This tool ensures the spline fits perfectly into place. |
Remember, safety is key. More than 90% of DIY guides stress the importance of wearing work gloves and safety glasses. Having the right screen replacement tools and DIY screen repair kit puts you on the path to a job well done.
Removing the Old Screen
Learning the steps to take out an old porch screen is key for a good rescreening job. Start with the right tools, like a pick and needle nose pliers. They are vital for pulling out the old spline. Gently work around the edges to free the spline and pull it out carefully to avoid damaging the frame.
After removing the old screen and spline, check the screen frame closely. Look for any wear and tear, like loose or damaged frames, which could make the screen unstable. About 60% of homeowners miss checking the frame’s condition. Make sure to clean the frame well to get rid of any dirt. This makes sure the new screen will be secure and fit smoothly.
If you find cracks or places that need caulking on the frame, fix these before moving on. It’s common for screens to show wear after five years, like frayed edges. This can reduce a screen’s effectiveness significantly. Regular checks and maintenance can make your screen last 25% longer.
Typically, taking off an old screen from a porch takes between 30 to 60 minutes. Being thorough in removing all parts of the old screen and spline can make installing the new one easier.
Using top-notch tools improves the job’s efficiency by about 40%. Essential tools include a screen rolling tool, utility knife, and flat-head screwdriver. You’ll usually need five of these six tools for a successful project. Doing it yourself can save up to 50% in labor costs.
By following these steps for how to remove old porch screen, you’re setting the stage for a successful installation of the new screen. This ensures a durable and high-quality finish.
Preparing for the New Screen
Before installing new porch screen, it’s vital to clean and prepare the frame carefully. This attention to detail will make the installation smooth and durable. The first step is to clean the spline channel, removing all dirt and debris.
If there’s corrosion or oxidation on the frame, you might need to scrape or brush it to get a clean surface. Checking for frayed edges, discoloration, and holes in the material is important, too. This can save you money on future costs. About 30% of screens begin to fray after five years, showing they need to be replaced.
Measuring accurately is crucial. Measure the frame opening and cut the new screen a bit larger than needed. This ensures complete coverage and allows for tension adjustments. It guarantees a perfect fit and helps manage your budget. Usually, this project takes 2-4 hours based on the porch size and frame complexity.
To help understand the costs and time for rescreening a porch, see this breakdown:
| Aspect | Detail |
|---|---|
| Common Screen Issues | Fraying, holes, tears (30% affected after 5 years) |
| Time Required | 2-4 hours |
| Cost Range | $50 to $200 |
| Material Longevity | Fiberglass/Aluminum: 5-10 years |
| Tools | Screen rolling tool (reduces time by up to 25%) |
| Inspection Frequency | Twice a year |
Proper prep before installing a new porch screen is crucial. It’s important for both the screen’s durability and its look. By doing these prep steps carefully, your porch screen will be strong and attractive. This enhances your outdoor living space greatly.
Installing the New Screen
Now that the old screen is removed, let’s get started with the new one. First, lay the new screen on the frame so that it goes past the edges. Having extra screen material helps in achieving a snug fit when you attach the mesh. Here’s what to do next:
- Begin at a corner and push the spline and screen into the slot with a spline roller. Learning to use the tool right is key for a neat finish.
- Move around the frame, pulling the screen tight as you go. Press hard to make sure the screen stays in place.
- Once the spline is all the way in, cut off any extra screen with a knife or scissors. A sharp knife will give a smooth cut along the spline groove.
For rails, use 1 1/2-inch-wide base strips. Attach them with 1-inch screws that are no more than 2 inches apart. Choose tough screen material for places with lots of activity to make your screen porch last longer.
Installing a new porch screen with the Screen Tight system usually takes about a day for a normal-sized porch. This system uses sturdy vinyl screen doors that are easy to maintain and make installation simpler.
Tips for Maintenance and Longevity
Keeping porch screens in good shape is key for their long life and use. Regular checks are a must to keep them lasting longer. About 30% of screens that aren’t looked after well show damage when checked. When inspecting, pay close attention to small holes or tears. These are most common around the corners and edges, where up to 60% of screen damage occurs.
Cleaning your screens is also vital. It stops moisture and bacteria from building up, which can ruin 90% of screens that aren’t cleaned. Mild soap and water can do wonders to keep your screens looking great. Also, putting away your screens in winter can cut damage from snow and ice by 40%. Storing them upright helps avoid warping by 75%.
If you’re dealing with lots of bugs or bad weather, think about getting stronger materials like heavy-duty fiberglass mesh or screens that pets can’t ruin. Fixing small issues quickly, like patching holes, keeps your screens working well. It can also save you about $100 in repairs. For a deep dive into rescreening and more tips, check out this detailed guide on rescreening a porch.
Doing regular upkeep can make your porch screens last 50% longer. It also means you can enjoy a bug-free outdoor area. Whether you’re into DIY or prefer getting someone to install them, keeping your screens clean and checked means they’ll last and be strong.