Get into the holiday mood by making your unique paper wreath. This guide shows a simple way to create beautiful wreaths. You can use things like old gift wrap or magazines. Choose your favorite colors and designs to make it yours.
This guide is great for both crafty people and those new to DIY. By making your paper wreath, you can save a lot. Instead of buying a wreath for over $50, you can make one for $5-$10. You’ll enjoy making these wreaths for holidays and find it easy on your wallet.
Key Takeaways
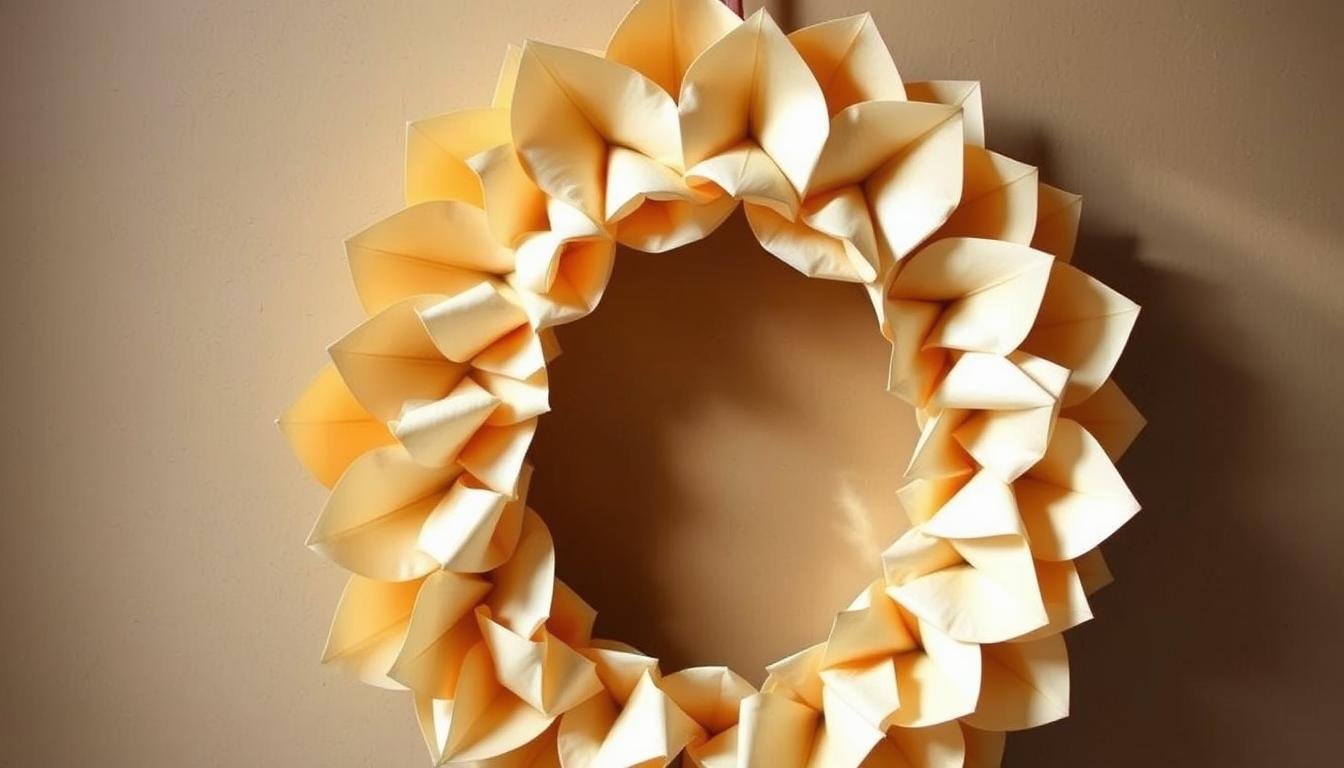
- The finished wreath typically measures 16.5 inches in diameter.
- Approximately 64 leaves are used, each about 5 inches long.
- You can use lightweight cardboard, like cereal boxes, for the form.
- Crafting time can range from 1 to 3 hours based on complexity.
- Overlap leaves to ensure no visible beginning or end.
- Seasonal themes can influence your choice of paper.
Gather Your Materials for a Paper Wreath
To start making a paper wreath, first collect the right materials. Look for different kinds of pretty paper. This can be wrapping paper, pages from old magazines, or scrapbook paper. You might also want a double-sided paper for more detail, but it’s not a must. Your essential tools should include two plates of different sizes. A large one about 11 inches across and a smaller one roughly 7 inches.
You’ll need some lightweight cardboard, such as from a cereal box, for the wreath base. Trace two circles on the cardboard using your plates to make your base. Then, cut out these circles. Your base should end up around 15 inches by 15 inches.
Now, gather items like scissors, a stapler, sticky tape, and Blu Tac for hanging your wreath. Also, pick up some green crepe paper, sheets of green paper, and acrylic paint for extra touches. If you want to add color, think about using half wooden beads. Paint them in different colors with acrylic paint and add details with paint markers. These beads can be placed around the base for a lively effect. You can find these beads in sizes like 1 1/3 inches and 1 1/8 inches.
Making paper flowers is another enjoyable part. You’ll need to cut circles from cardstock paper for the flowers. Each flower typically uses five circles in varying sizes. Use bigger circles, about 3 inches and smaller ones about 2 inches, for a nice layered look. Feel free to add more decorations like extra flowers or leaves to enhance your wreath.
Don’t forget to get a ribbon for hanging your wreath. The length should fit where you plan to display it. You will also need a hot glue gun to put everything together securely. With these DIY essentials, you’re ready to have a fun crafting time. For more unique ideas and step-by-step instructions, check out this DIY guide.
Step-by-Step Instructions for Making the Wreath
Start your paper wreath with a strong cardboard base. First, draw two circles to make a doughnut shape: one big circle for the outside and a smaller one for the inside. Then, cut it out carefully with an Exacto knife. Make sure to tape any loose ends for a sturdy base. This step is crucial for a lovely wreath.
Then, make a leaf shape template from paper grocery bags or any fancy paper. Begin attaching these rolled leaves onto your base using staples. Place each leaf so it slightly covers the one before it. This hides the staples and makes the wreath look good.
For step-by-step instructions on making a wreath using an old book, crepe paper, and more, visit this DIY paper wreath guide.
To add flowers to your wreath, craft magnolia blooms. You’ll need 6-8 large crepe paper pieces for each flower. Then, create the flower’s center with a strip of yellow crepe paper. It might take a couple of days to roll these flowers, but they’re worth it for the stunning look.
Decorate with cones made from 6-inch paper squares. Use 19 cones for the inside circle, and about 38 for the outside. This gives your wreath a full appearance. Add a bit of sparkle with two coats of spray glitter.
Lastly, stick on decorative touches like crepe paper fringe with Mod Podge. A hot glue gun works best to attach a ribbon for hanging. This paper wreath project is perfect for a fun and fulfilling weekend craft.
Creative Techniques for Unique Designs
Creating a stunning and memorable paper wreath involves several creative wreath making techniques. Experiment with different paper textures like crepe, tissue, or cardstock. Each type adds a unique touch, making your wreath stand out.
Using specific color schemes and themes is key for unique paper wreath designs. Try using bright colors for Christmas or soft pastels for spring. This makes sure your wreath fits perfectly with different occasions.
Advanced techniques can boost your DIY wreath customization. Try adding fringes or layering paper for depth. Including paper flowers can turn a simple wreath into a stunning centerpiece. Decorations like faux berries or bows add a festive flair.
If you want your wreath to stand out, try using decorative scissors or edge punches. These tools create beautiful patterns on paper edges, making your wreath look even better.
The finished wreath can be used in many ways, like decorating your home or as an accessory for events. It’s a fun project for the whole family, encouraging everyone to take part in creative wreath making.
Personalize your wreath by adding a decorative plaque or monogram. This can increase your personal connection to the project. Use Tacky Glue for its flexibility, ensuring all pieces are just right.
To make a large wreath, start with about 200 pieces of 4” paper squares for a 16” wreath. For a smaller one, you’ll need less material. You can use thin paper or something sturdier. Remember, recycling leftover materials is a good way to keep crafting sustainable.
Tips for Displaying Your Paper Wreath
Once you’ve made your paper wreath, showing it off properly is key. You can use Blu Tac to stick it without harming your walls or doors. This makes it easy to move around until it looks just right.
If you want it to stay up longer, try ribbons or hooks. Ribbons look fancy and keep your wreath secure. Think about where to hang it to make your room look nicer. Move it around and try different spots to see where it looks best.
Think about the light in the room too. Soft sunlight makes the details pop without fading the colors. Spray it with a UV-Resistant sealer if it’s near a window. This helps protect it from sun damage.
It’s important to match your wreath to your room’s style. A vintage butterfly wreath, for example, goes well with old-fashioned or rustic decorations. Following these paper wreath presentation tips will make sure your wreath is a beautiful addition to your home.
Take your time picking the right spot and materials to hang your wreath. Checking and adjusting its placement keeps it looking great. This will make showing off your paper wreaths fun and satisfying.
Inspiration: Ideas for Your Paper Wreath Project
The world of paper wreath ideas is boundless. Looking around different sites like Pinterest can really spark your imagination, making your project stand out. There’s so much out there, especially on craft websites. For every season, there’s a color and theme waiting for you. Think of using soft pastels for Easter or bold orange and black for Halloween.
Want something more elegant? Try creating a fall wreath with printed scrapbook paper. You’ll need about 5 to 6 sheets to start. Or, for a bit of sparkle, use 15 sheets of American Crafts Glitter Cardstock. Cutting leaf shapes adds a nice touch. If you have a Cricut machine, it’ll make cutting easier, especially through thick cardstock. Just a heads up: glitter glue takes a while to dry, so be patient.
Enjoy crafting with others? You could join a crafting group or bloggers. Once, a group of 75 bloggers shared fall craft ideas, showing the power of teamwork. And making a wreath doesn’t have to break the bank; it can cost under $20. With about 10 cardstocks, a $5.99 fake wreath, and some cutouts, you can create something amazing. Adding different windows and doors can make your wreath pop. Make sure you prep your design files right, whether you’re using Cricut or Silhouette.