Discover the beauty of blending nature with home decor by making a twig wreath. This DIY project is perfect for those who adore natural wreath designs. It shows you the steps to turn twigs into a lovely decor piece that fits many home styles.
Making your DIY twig wreath is both enjoyable and budget-friendly. It takes about thirty minutes and costs around ten dollars. By following this guide, you’ll create a unique wreath full of rustic charm. You can hang it on your front door, display it on a wall, or even on a bookshelf.
Key Takeaways
- Crafting a twig wreath is a simple and cost-effective project.
- You can complete the wreath in approximately 30 minutes.
- Only five main steps are involved in the wreath-making process.
- The estimated cost to make one wreath is about $10.
- Potential display locations include doorknobs, front door, wall, bookcase, and gallery wall.
- This project uses five main materials: Twig Wreath base, Bow, Mini Leaf Garland, Flowers of choice, Twine.
Gather Your Materials for the Perfect Twig Wreath
Making a twig wreath is not only fun but also cheap, costing about $3.00. Start by collecting all the materials you need for your twig wreath. This way, you have everything ready and can finish your project smoothly.
- Twigs: Birch twigs are a great choice. Collect various lengths from 2 to 5 inches for a wild, natural look. If choosing evergreen twigs, go for lengths of 5-7 inches. Ensure the branches are about the same thickness for a uniform look.
- Flowers: Add either real or fake flowers to bring beauty. Pick flowers that match the rustic look of your wreath, making sure they fit well with the twigs.
- Wire Clippers: You’ll need these for cutting branches to the right size.
- Scissors: Needed for slicing twine and more.
- Jute Twine: It gives a country vibe and is great for tying twigs together.
- Rubber Bands: These are useful for holding twig bundles in place while building your wreath.
- Black Wire: This makes the wire less noticeable in the final wreath, giving it a tidy look.
- Additional decorations: Think about adding ribbons (24 inches for bows), fake flowers, berries, mini pine cones (about 25), dried flowers, and ornamental grasses.
Before assembling, do some pre-work. It’s smart to get rid of any bugs in the twigs. Bake them at 200 degrees Fahrenheit for an hour. This step keeps your wreath-making supplies pest-free.
Remember, this project takes about 3 hours of craft time. With patience and a bit of creativity, you’ll end up with a gorgeous rustic wreath. It’s a special feeling to make something unique by hand, especially with easy-to-find, natural materials.
Preparing Your Twigs: The Foundation of Your Wreath
Before making a DIY wreath, preparing your twigs right is key. This step makes sure your wreath is both strong and looks good.
First, pick twigs that are strong yet bendable. You need about 20-25 ornamental mulberry branches for a 14″ wreath. The branches should be 2-4.5 feet long and freshly cut in March. This is to keep them flexible. The longest branch should be no more than 55 inches for easy weaving.
Next, trim your branches to a uniform 6-8 inches. This makes your wreath look tidy. Also, get 8 wire pieces, 7-8 inches each, to tie the branches together.
Sort your twigs by thickness to spread out the weight evenly. Then, using 22 Gauge wire or jute, tie small groups of them together. Wrap the wire or jute around the bottom third of each bundle and the wreath frame three times. This will make a strong base.
Here’s a quick list of what you might need:
| Material | Required Quantity |
|---|---|
| Ornamental Mulberry Branches | 20-25 branches |
| Wire (7-8 inches long) | 8 pieces |
| 22 Gauge Paddle Wire/Jute | Sufficient quantity |
Proper twig preparation is super important for a sturdy wreath. By clipping, sorting, and tying your twigs carefully, you create a strong base. Your DIY wreath will not only last but also look stylish.
Creating the Base of Your Twig Wreath
Creating a solid base is vital for your wreath. It makes sure your creation lasts longer. Start by finding about 15 flexible twigs, each should be around 15-20 inches long. These will form the base of your *twig wreath framework*.
To begin, shape these twigs into a circle. Bind them together with jute twine or rubber bands. For extra firmness, wrap the twine around the twigs several times. Rubber bands are great for keeping everything tight while you design.
For more strength, use a big galvanized bucket as a mold. This helps keep the shape right and makes crafting easier. Make sure to cut each twig into about 8-inch pieces to fit well into the mold.
A typical grapevine wreath is about 8 inches across. It’s a useful size reference. If you’re looking for detailed instructions, check out resources like this guide. It explains how to build a wreath base and gives tips on using different willows.
Adding things like copper wire can make your wreath prettier. Remember, the best time to collect vines and twigs is in early or late winter when they’re dormant.
By following these steps, you’ll be able to make a twig wreath that adds a unique touch to your home.
Adding Personal Touches to Your Wreath
Making a wreath is more than a task. It’s a chance to show your creative side. When you customize your DIY wreath, using different decorations can turn a basic wreath into your own creation.
First, pick the right wire form. A single wire form is good for simple wreaths. But for more decorations or greenery, a double wire form is better.
For a personal touch, use fall colors like gold and orange. Add things like acorns and tiny pumpkins. These give your wreath a seasonal beauty.
Remember the little things. Craft stores have lots of decorations, like seashells and ribbons. Dried flowers and pine cones add texture.
Thinking about a themed wreath? A herb wreath is not only pretty but useful for cooking. Adding plants like eucalyptus makes it smell amazing.
For something special, paint some twigs or use gold leaf. Stick on dried orange slices or berries for a custom look. This makes your wreath stand out as a personal piece.
Securing Your Decorations: Ensuring Longevity
To keep your wreath beautiful for a long time, start with a strong design. Use a 12-inch round metal wire frame for good support. Attach greenery to the frame with floral wire cut into 5-inch pieces. Make sure to overlap each bunch to hide the stems.
Add flowers like dried hydrangeas and peonies, since they keep their shape well. Soak fresh wreath branches for 24 hours to make them last longer. Use wax spray to stop them from drying out and water tubes for stem flowers.
To keep the wreath fresh, mist it regularly. Hang it in cool, dim places to reduce drying. Use glycerine water for wreaths in water to help them last even longer.
With careful maintenance, your wreath can look good for months or years. Using these tips will keep your wreath stunning and strong. It will remain a beautiful focus in your home.
Styling Your Twig Wreath for Different Occasions
Make your home decor flexible by styling your twig wreath for different times of the year. With smart seasonal wreath decorating methods, you can turn a simple twig base into an eye-catching piece. This way, your wreath becomes a dynamic talking point for any season.
From the fresh feeling of spring to the cozy vibe of winter, there are endless occasion-based wreath ideas to try. Starting with just under $14 for a twig base, you can keep your decor fresh all year round without spending a lot.
- Spring: Add dried hydrangea stems and floral picks bought on a Veteran’s Day sale. They blend well with soft home colors.
- Summer: Use bright flowers and maybe seashell accents to capture summer’s energy. Red and white give a fresh, balanced look.
- Fall: Use autumn leaves and wheat, about 5-10 stems per basket, for fullness. A beaded wreath form can add interesting texture with 6 to 8 bundles of dried materials.
- Christmas: Decorate with pine cones, painting around 40 tips for a holiday feel. Faux apples give a cheerful, lasting charm, making the wreath durable.
For top-notch versatile twig wreath styling, mix in elements that mimic the twig’s shape for a cohesive look. Use everyday items creatively, like a silver tray as a base or an upside-down Command hook for hanging. This approach keeps styling easy and affordable.
The true beauty of a twig wreath is its adaptability. By carefully picking and arranging elements for each season, your wreath will always look great and relevant. It shows how you can balance cost-saving with beautiful style.
Where to Hang Your Beautiful Twig Wreath
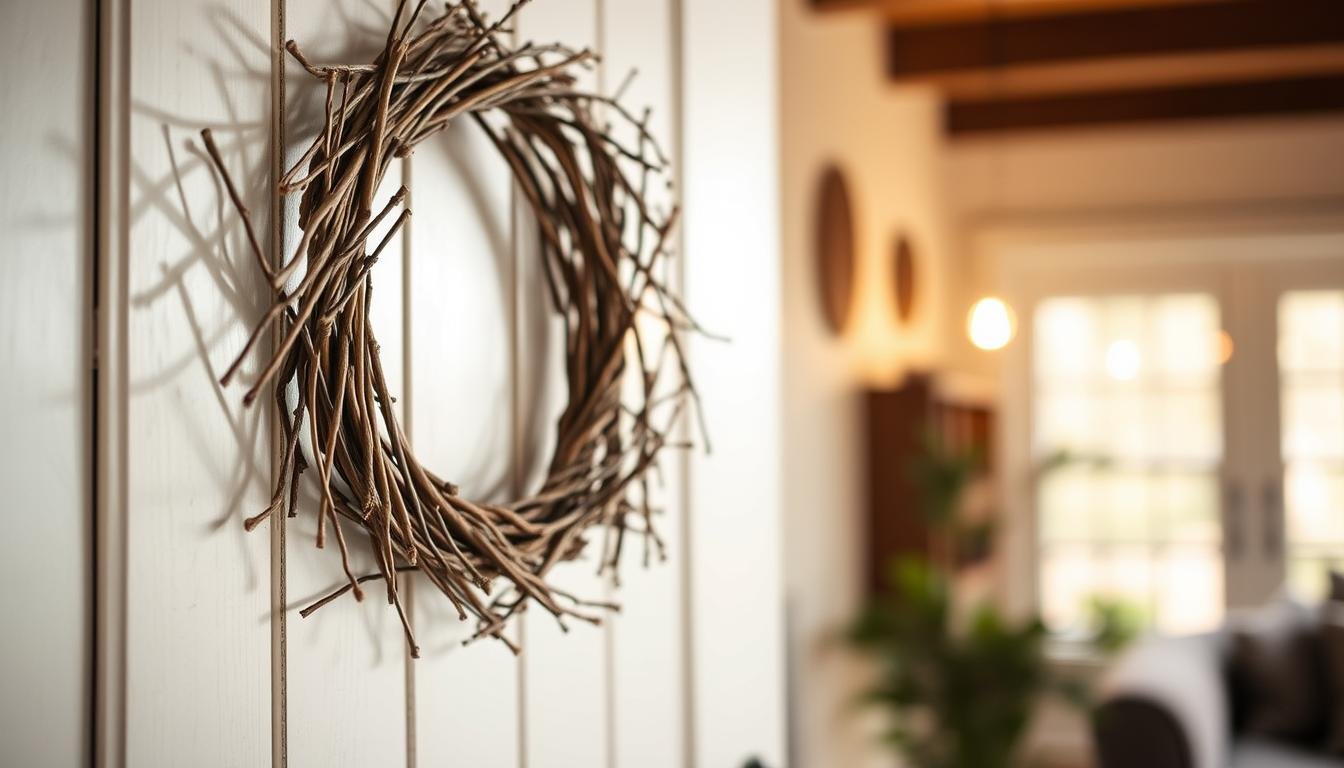
Your stunning DIY twig wreath needs a special place in your home. There are so many ways to show off twig wreaths. You can put it on your front door. This gives your guests a warm welcome and shows off your creative side.
Inside, like on living room walls, is great for your wreaths too. You could make a gallery wall and make your wreath the main piece. It lets your wreath stand out and fits right in with your home’s look.
Place your wreath above the fireplace for a fresh look. It draws attention upward, making the wreath a key part of the room. Adding battery-operated lights can make it even more charming at night.
For something different, hang your wreath on inside doors, like the pantry or bedroom doors. It brings a cozy vibe all around your home. And don’t worry; the wreath is light and won’t hurt your doors.
Don’t skip the kitchen for hanging your wreath. With a simple hook, you can place it on cabinet doors or above the sink. It brings a rustic feel to your kitchen.
Remember to change things up with the seasons. Rotating DIY wreaths keeps your home looking lively all year. Each season, switch it up to match the time of year, like dried grasses for fall or fresh greenery for spring.
Caring for Your Wreath: Maintenance and Storage
To keep your twig wreath looking good, it’s important to know how to care for it. Different types like evergreen, eucalyptus, boxwood, or magnolia each need their own care. This helps them stay fresh and beautiful for many seasons. Taking care of your wreath the right way can also make it last longer.
Watering is key to keeping your wreath fresh. An evergreen wreath can look great for 5-8 weeks with just the right amount of water. Spraying it gently every 1-3 days keeps it looking lively. Boxwood wreaths, which can last over four years, need daily water to keep their leaves green and soft. Eucalyptus wreaths also need daily watering for the first 1-2 weeks. After that, they dry out but still look good for up to 12 weeks. Magnolia wreaths are strong and can look beautiful for at least four holiday seasons with a little water every day. So, watering regularly is very important for keeping twig wreaths from these plants looking their best.
When storing your wreath, the place you choose is important to avoid damage. Proper storage helps your DIY wreaths stay a lovely part of your decor. Keep your dried wreath in a spot that’s cool and dry. Be sure it’s not damp before storing to keep away mold or mildew. Using a desiccant in the storage box helps protect against moisture. By following these storage tips, your handmade wreath can decorate your home for many more seasons.