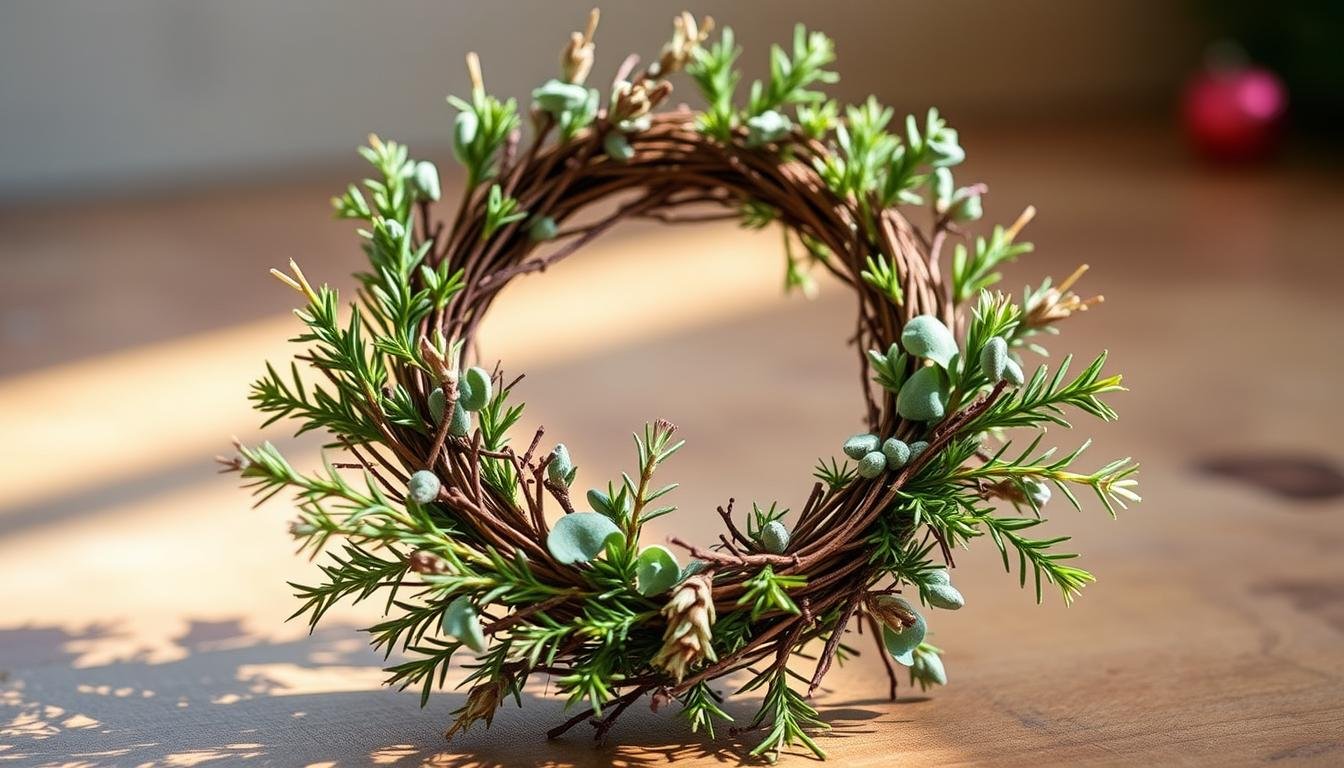
Welcome to DIY mini wreaths! Making a mini wreath DIY project is both fun and easy. It’s a great way to spice up your holiday decor or make special gifts. No matter if you’re just starting or have lots of experience, this guide will help you. You’ll learn to make a beautiful mini pinecone wreath. Imagine your homemade mini wreath at home or getting compliments from friends. This project is simple and doesn’t cost much, so anyone can try. Are you ready to start your festive mini wreath creation? Let’s get going!
Key Takeaways
- Create beautiful DIY holiday decor with minimal effort.
- Each mini wreath can be crafted in approximately 12 minutes.
- The average cost for materials is around $10, making this a budget-friendly project.
- Mini wreaths are perfect for small spaces and can be used to decorate chair backs, doors, and gift packages.
- Personalize your wreath by varying the arrangement of pinecones and adding unique embellishments.
For more detailed guidance, check out how to make a simple and natural pinecone.
What You Need to Get Started
Making a mini wreath is fun and easy when your materials are ready. You just need a few items you can find at craft stores or at home. Here’s what you need for wreath making:
- Floral wire
- Vine-wrapped wire
- Wire cutters
- Greens such as myrtle
- Floral shears or scissors
- Mini envelopes
- Ribbon
- Baker’s twine
Begin with a wreath form about 6 inches wide. Use floral wire to make the frame. Cut the wire 1.5 times longer than needed. This ensures enough length for wrapping the greens. You might also use washi tape to keep the ribbon in place for hanging. Look for mini envelopes in the gift wrap section of a drugstore. They’re great for adding gift cards to wreaths.
Choose fresh greenery for your wreath. You can find affordable options in your garden or a nearby store. Making a wreath takes about 15 minutes. Cut your greens into 6-inch pieces to simplify the process. Usually, wrapping floral wire 3-4 times around the greenery is enough to secure it. If the pieces are too small, combine two and wrap them together.
This guide helps you gather the right supplies for making wreaths. These wreaths are perfect for holidays or special events. If you use greenery from your garden, making wreaths can cost almost nothing.
Step-by-Step Instructions for Creating a Mini Wreath
Start by getting all the things you’ll need for your mini wreath. You’ll want 6-inch embroidery hoops that are great for hanging in windows. Cut your 12-inch pine pipe cleaners in half to make them 6 inches for the wreath’s frame. You should also have 22-gauge floral wire for tying on greenery like pine branches and eucalyptus. Plus, you’ll need a hot glue gun and glue sticks for adding decorations.
Once you have everything ready, making your mini wreath is quick, taking about 30 seconds. Follow these easy steps:
- Wrap your 6-inch pine pipe cleaner halves or 6-inch lengths of pine garland around the embroidery hoop.
- Use the 22-gauge floral wire to tie the greenery on, making sure it looks full and even.
- Add decorations like small ornaments, ribbons, or bows with hot glue to make sure they stay on.
- Add a personal touch with something like a small gift card or a banner. You can find “Merry Christmas” banners in a vintage typewriter style from the Member Library. They have three pages of banners in two sizes and colors (red and brown).
- Hang your wreath on your chosen spot with suction cups that have hooks to avoid damage.
Making your wreath unique is easy when you shop at thrift stores, rummage sales, and yard sales. You could save 30-50% compared to buying from stores. This guide to making a DIY wreath is all about being creative and making something special for your home.
Creating mini wreaths is a fun and rewarding activity, whether you’re selling them or making them for yourself. This making a mini wreath guide is designed to make your crafting enjoyable and simple. Use this DIY wreath instructions to make lovely, festive mini wreaths that will wow everyone.
Top Tips for Personalizing Your Mini Wreath
Choosing to customize mini wreath opens a world of creativity and self-expression. You can use elegant decorations like champagne and gold ornaments or go for a rustic look with pine cones and berries. This makes your mini wreath a unique piece that shows off your personal style.
Mixing different types of greenery is a smart move. For instance, adding fresh rosemary sprigs not only looks great but smells amazing too. To make your mini wreath stand out, follow these steps:
- Select Your Greenery: Pick your greenery carefully. Fresh rosemary or artificial plants can both work well, depending on your theme.
- Add Festive Embellishments: Decorate with small ornaments in colors like champagne, silver, and gold. A mix of matte and shiny finishes adds depth.
- Create Beautiful Bows: Adding bows from velvet ribbons makes your wreath look beautiful. As per the Love and Renovations DIY project, using six 3-inch pieces of floral wire per bow is advised for a firm finish.
- Group Accents Strategically: Arrange accents like pine cones or berries in sets of three. This creates balance and visual appeal.
- Integrate Personal or Cultural Elements: Add items with personal or cultural significance. This could include traditional symbols or family mementos.
Research shows that 70% of people prefer DIY decorations during the holidays for a more personal touch. Moreover, 55% of those who make their own décor feel it boosts their holiday cheer. With these mini wreath ideas, your decoration will not only look good but also spread happiness.
Remember, the joy of customize mini wreath is in the making. Let your creativity flow and enjoy the process!
Where to Display Your Mini Wreath
There are countless mini wreath display ideas to explore. You can decorate inside or outside. Let’s look at some creative options.
Hanging mini wreaths on cabinet doors is a popular choice. Mini wreaths are usually 8 to 12 inches wide, fitting perfectly. Use small clear command hooks 2 inches from the top for a strong hold.
Another favorite place is your front door. This is the most common spot for wreaths, making your home feel welcoming. Changing wreaths for different seasons is easy.
Make your bookshelves extra charming by adding homemade wreaths to each shelf. This adds a holiday vibe and keeps your decor unified.
| Location | Display Method | Recommended Tools |
|---|---|---|
| Cabinet Doors | Command hooks | Small clear hooks, 2 inches from top |
| Front Door | Ribbon or hanger | 28-inch ribbon |
| Bookshelves | Place on shelves | N/A |
| Gift Packages | Attach with ribbon | 2.5 feet ribbon |
Placing homemade wreaths on gift packages adds a unique touch. They make the gift special and give a bonus decoration. For craft shows, showcase your best wreaths prominently. Use odd numbers for a catchy look and multi-level displays with nice tablecloths for a pro setting.
You can get creative with mini wreath placements. They add warmth and charm anywhere, fitting into any space or event. So, try out different mini wreath display ideas.
Troubleshooting Common Mini Wreath Issues
Making mini wreaths is both rewarding and creative, but it can have challenges. If you run into problems, knowing how to solve them quickly can save your project. We cover some typical mini wreath crafting issues and how to fix them here:
- Uneven Wreath Shapes: A common issue is making the wreath look even and symmetrical. It’s important to use a solid and evenly shaped wreath form. Basic sizes, like 8-inch forms, are easier to work with. To make it even, adjust the tightness of the wire and spread the materials evenly.
- Loose Decorations: Decorations like fake fruit or ornaments might fall off. To keep them attached, use plenty of high-quality hot glue, about 2-3 sticks per project. Also, attaching each decoration in at least two places can make them more stable.
- Unsecured Greenery: Sometimes, greenery can hang down if not attached well. Pick the right size branches and tie them on securely with a thick wire (0.35mm). You can also wrap artificial garlands, about 15 feet long, around the wreath for extra sturdiness and fullness.
- Floral Water Tubes: Adding fresh flowers? Reusable floral water tubes can keep them fresh longer. You can find different greens throughout the year to make your wreath look great, even in winter.
Keeping your DIY costs low is also smart. Aim to spend about $1 per item at places like Dollar Tree. If you want to get creative, tools like the Cricut EasyPress can help you add personalized touches. Always have a stash of common decorations like rosehips, conifer sprigs, and dried chamomile ready for quick fixes or added flair.
| Problem | Solution |
|---|---|
| Uneven Wreath Shapes | Adjust wire tightness, use an 8-inch standard wreath form |
| Loose Decorations | Secure with multiple hot glue spots |
| Unsecured Greenery | Use 0.35mm wire and wrap with 15 feet garland |
| Fresh Flower Maintenance | Use reusable floral water tubes |
By using these tips for fixing mini wreath crafting issues, you can tackle many common problems. This advice is helpful whether you’re experienced or new to making wreaths. With these troubleshooting tips, creating beautiful and lasting wreaths is easy.
Maintenance Tips for Your Mini Wreath
Taking good care of your mini wreath means it will last longer. Start by misting it every couple of days with a spray bottle. If it’s hot, mist up to three times daily: morning, around 1 p.m., and evening. This keeps your wreath looking fresh, as Roth advises.
When it’s time to store it, use a strong box and cover the wreath with tissue, bubble wrap, or plastic. This will keep it safe from dust and moisture. Also, wrapping a light plastic bag around it at night helps it stay moist and beautiful longer.
If you have an artificial wreath, dust it once a week. Use a hair dryer on low for tricky spots. To clean it more deeply, gently wash with a mild soap and warm water. But don’t soak it. Also, a UV spray can keep the colors bright for a long time.
Updating your mini wreath with new decorations every season keeps it looking fresh. Keep the old parts in labeled bags or boxes for later. If any decorations come loose, just glue them back on. You can also revamp faded parts with some paint or dye. Taking these steps means your mini wreath stays pretty year after year.