Installing a porch screen can make your outdoor area more enjoyable. It keeps bugs away and improves privacy. This guide teaches you how to install a screen. It covers measuring, choosing materials, and how to put in the screen.
Key Takeaways
- Most porch screen installations can be performed by one person using common tools.
- SNAPP® screen components are designed for easy, eco-friendly installation.
- Using the right cutting blades, like Freud Diablo series, ensures precise cuts.
- A spline installation tool is crucial to prevent screen pull-out.
- Choose suitable screening materials, such as polyester or fiberglass, for best results.
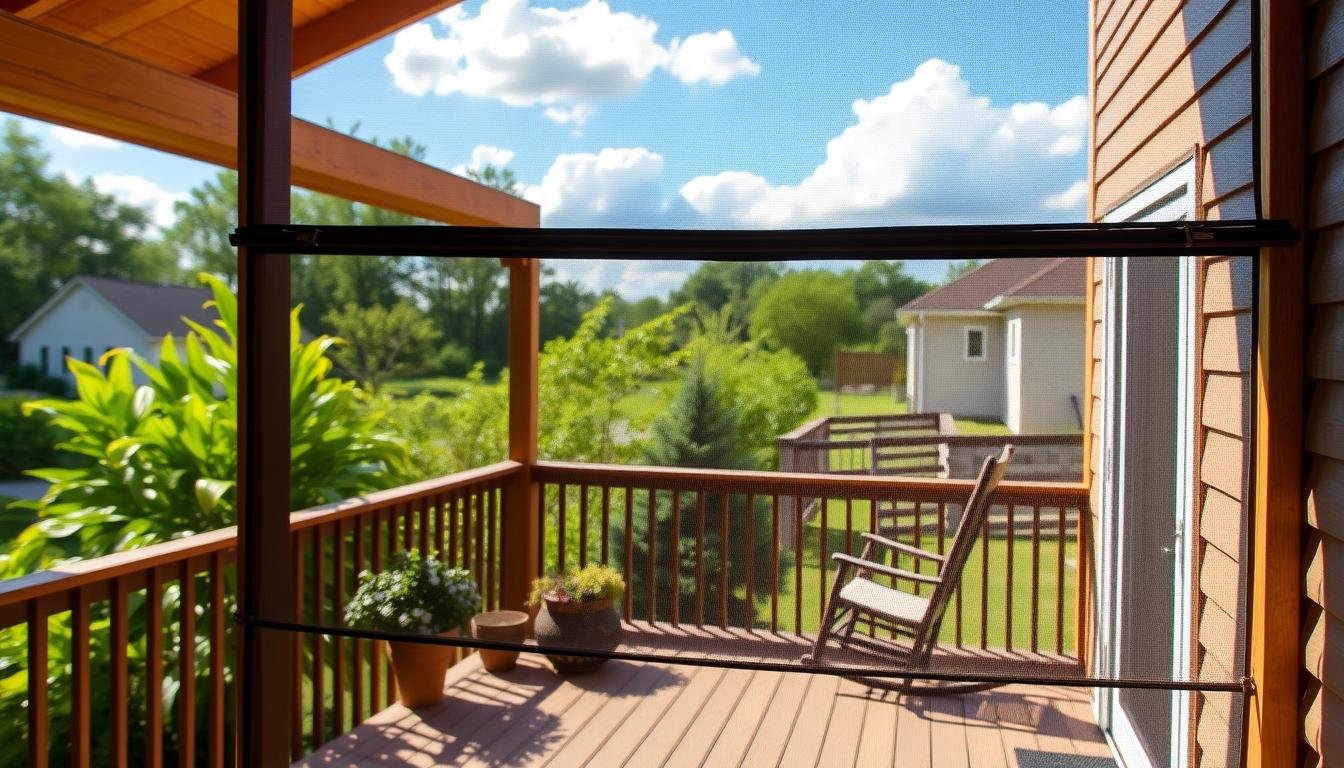
Understanding the Benefits of Porch Screens
The benefits of porch screens are about more than just bug protection. They make outdoor living better in many ways. The main perk is enjoying the outdoors without annoying pests. So, you can relax without bugs bothering you.
Porch screens also provide more privacy and weather protection. They keep you dry during a rainstorm and sheltered from the wind. Plus, they make your outdoor space feel private and secure.
Another great point is how porch screens can boost your home’s value. HGTV says screened patios are a top home upgrade. They offer a big return, especially in warm areas. It’s a smart and cost-effective home improvement.
Screening your porch turns it into a space for different activities. It can be a living room, reading spot, or even a pet zone. A screened porch is versatile, fitting many uses that enhance outdoor living.
Modern screen systems do more than keep bugs out. They offer privacy, better airflow, and can help save energy. Companies like Screenmobile provide different options to meet various needs and budgets.
There are many screen types, from simple to sturdy aluminum frames. For all-year use, there are special sheets that handle weather changes. There are also durable screens for homes with pets and retractable ones for a neat look. With so many choices, everyone can find the right screen for their porch.
Choosing the Right Screen for Your Porch
When looking for the best screen for your porch, know there are several types to choose from. Fiberglass mesh is a top pick for many homeowners. It’s easy to install, affordable, and keeps bugs out.
If you need something sturdy, aluminum screens might be the best bet. They cost a bit more than fiberglass but last longer. They’re also better at resisting rust and corrosion.
When deciding between fiberglass vs. aluminum screens, remember fiberglass is cheaper and easier to put up. But aluminum wins for strength and lasting longer.
Consider sun-control screens if your porch gets a lot of sun. These can block much of the sun’s heat, making your porch cooler. They help save on air conditioning and keep your furniture from fading too.
Pet-resistant screens are great for homes with animals or lots of people coming and going. They cost more and aren’t as clear, but they’re much tougher against tears.
Here’s a quick guide to compare porch screens:
| Screen Type | Cost | Durability | Visibility | Additional Benefits |
|---|---|---|---|---|
| Fiberglass | Low | Moderate | Good | Easy Installation, Keeps Out Small Insects |
| Aluminum | 33% More Than Fiberglass | High | Excellent | Rust Resistant, Long-lasting |
| Sun-Control | Variable | High | Variable | Blocks up to 90% Heat, Energy Efficient |
| Pet-Resistant | High | Very High | Less | Tear & Puncture Resistant |
By knowing what you need, you can find the best screen for your porch. Whether it’s for durability, cost, or specific needs like sun control or pet resistance, there’s an ideal choice for every porch.
Preparing Your Porch for Screen Installation
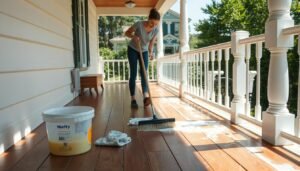
Before installing screen panels, getting your porch ready is key. First, measure your porch to know how much screen and tools you need. To figure out the screen material, multiply the width and height of the porch. Then add 10% extra for any waste. This helps ensure you won’t run out of materials.
Check that the frames or structures are strong and in good shape. Take off any old screens and hardware. Fix or change any broken parts of the porch frame. This ensures a solid base for your new screens. You might need to remove 1×2 wood battens that are usually nailed or stapled.
For attaching to standard 4×4 posts, use vertical base strips that are 3 1/2 inches wide. Make sure screws are not more than 2 inches from the end of each strip. Use narrower 1 1/2-inch wide strips for 2×4 horizontal rails. Be sure that the base strips fit together well without needing extra cuts.
Think about using a screen framing system or porch screen kits for better results than stapling screen material. It’s crucial to stretch the screen tight to avoid any sagging. This ensures a neat and professional look. For areas that get a lot of use, choose strong, tear-resistant screens.
Adding a solid vinyl screen door is a great touch for your new screened porch. Such doors are durable and easy to take care of. They don’t need painting. Make sure you use materials that can stand up to the weather. This will help your screened porch last longer.
Step-by-Step Guide to Installing Your Porch Screen
To start your step-by-step screen installation, first, collect all needed tools and materials. You’ll need base strips, screen fabric, a staple gun, and a spline roller. Begin by building the frame and attaching the base strips securely around your porch.
Next, unroll your screen material from the top corner. Attach the screen at the top using the staple gun, making sure it’s tight to avoid any sagging. With the spline tool, fix the screen into the grooves of the base strips. Go around the frame carefully. This ensures the screen is tight and keeps bugs out. Trim off any extra screen for a neat look.
Picking the right materials is crucial for your porch screen installation. Fiberglass screens are affordable, while pressure-treated wood is a low-cost framing choice. For big projects, better materials mean longer-lasting results but cost more upfront. Learn more about cost factors and DIY screen installation benefits here.
Below is a detailed cost comparison for different porch sizes:
| Porch Size | Average Cost |
|---|---|
| Small (10×10) | $1,000 to $3,000 |
| Medium (12×12 to 16×16) | $2,000 to $5,000 |
| Large (20×20 and above) | $3,000 to $8,000 or more |
Consider the potential savings of DIY over professional installation. The cost difference depends on your area and the project’s size. Adjustable or removable screens are budget-friendly and flexible. Keep your porch clean and in good shape to save on maintenance costs. Knowing all costs upfront can help you make a smart choice for a beautiful, bug-free porch with a successful DIY screen installation.
Troubleshooting Common Installation Issues
After you install your porch screen, you might find some common issues. A big issue is loose screens. You should check the screen for loose spots or gaps. Then, you can make it secure by re-splining these parts. Loose screens happen a lot, especially in big installations where it’s hard to keep everything tight. If fixing it with re-splining doesn’t work, you might need to check how the screen fits in its frame again.
Wrinkles on the screen can also be a problem. To fix this, you can tighten and reattach the screen to smooth it out. Start by loosening the screen from one corner. Then, slowly reattach it, making sure it’s evenly tight. This will help you get a screen that’s smooth and without wrinkles. Choosing high-quality materials, like screens that pets can’t tear, can also prevent wrinkles but might cost more.
If the screen is sagging, check if the frame is level and secure. Even a little misalignment can cause sagging over time. Look for water damage or wood rot on the frame, which happens in about 20% of properties. A strong frame supports the screen well. Also, keeping up with regular screen maintenance will make them last longer and stay looking good.
Insect infestations are another worry; about 10% of screen porch projects have this issue. To avoid bugs, make sure there are no gaps when installing the screen. Using materials that insects don’t like can help too. Cleaning the screens often and checking for damage is also key to avoiding problems with your screen installation.