Adding a new porch light improves your home’s look and safety. This guide helps even those with some DIY skills succeed. The time and cost to install vary, based on the design and materials used. A bright porch decreases the chance of accidents and keeps away intruders.
Key Takeaways
- Adequate porch lighting can minimize slips and falls.
- Motion-sensor lights save energy and enhance security.
- LED bulbs offer up to 80% energy savings compared to incandescent bulbs.
- Solar-powered lights can be an eco-friendly option without raising electricity bills.
- Wall lights should be placed between 60 and 66 inches from the ground.
Why Install a Porch Light?
Having a porch light installed can make your home look better and work better. One big plus of porch lights is they make your home safer. They keep burglars away because 60% of them skip houses that are bright. They also make it safe for you and visitors to walk at night, reducing accidents.
Porch lights do more than keep you safe; they also make your home look more welcoming. They can show off your home’s design and garden, attracting visitors and potential buyers. Plus, homes with these lights are worth 20% more, proving porch lights are a smart choice.
Getting a porch light won’t break the bank, costing about $40 on average. Using LED bulbs can cut down energy use by 75%, saving you money. This makes your porch light not just bright but also budget-friendly.
You can also save energy with programmable switches. They turn lights on automatically when it gets dark and dim them after midnight. This means your porch is always lit when necessary but doesn’t waste power, adding security without effort.
In short, porch lights offer many benefits beyond looking good. They keep you safe, boost your home’s value, and don’t cost much to run. Adding a porch light is a wise, efficient move for any homeowner.
Choosing the Right Porch Light
When selecting porch lights, it’s crucial to think about different things. You want the perfect choice for your home. This means the light should match your home’s look and fulfill your needs. With options from traditional to modern LED lights, you find various brightness and energy savings.
Standard bulbs make around 1,600 lumens of light, while flood lights for safety should have 700 to 1,300 lumens. LED bulbs last longer but cost more at first. CFL bulbs have mercury, which can be risky if they break.
The International Dark-Sky Association (IDA) checks lights for their effect on the night sky. Lights that turn on and off by themselves are handy for outside. Lights that sense motion save energy by only turning on when needed.
Outdoor lights should look good and make your home safer. Choosing lights that match can make your home look better. Wall lights are great for many outside areas. Lights on the ceiling or hanging work well in covered spots. “Wet rated” post lights are made for places that get wet.
Post lights are usually about 84 inches off the ground. It’s easy to pick lights that are too small. A single light should be about one-third the height of your door. If you have two lights, they should be smaller, about one-quarter the height.
The key to best porch lighting is a mix of good looks and practical use. Features like motion sensors and automatic lighting help with safety and ease. Solar lights don’t add to your electricity bill, making them good for the planet.
Choosing the right porch light makes your entrance bright and welcoming. Making smart choices can also keep your porch looking great and safe. And it helps save energy and protect the environment.
Tools and Materials Needed
To install a porch light successfully, you’ll need certain tools and materials. Essential items include a caulk gun, cordless drill, fish tape, hole saw, insulated screwdriver, ladder, voltage tester, and wire stripper. You’ll also need electrical wire, a junction box, a light fixture with mounting hardware, a light switch, silicone caulk, and wire nuts to make sure everything is connected safely.
Using a 1/4-inch drill bit is a good tip for making clean pilot holes. Leaving about 6 to 8 inches of wire out can simplify the wiring task. Before you start, it’s vital to ensure the power is off to avoid shocks.
Choosing the right wire strippers is key because they help you remove about three-quarters of an inch of wire insulation accurately. Having the correct tools for DIY lighting will make the installation smooth and effective. Using programmable switches, as mentioned in a detailed guide, can also make your porch light more energy-efficient and improve your home’s security.
Here’s a brief list of what you need:
- Caulk gun
- Cordless drill
- Fish tape
- Hole saw
- Insulated screwdriver
- Ladder
- Voltage tester
- Wire stripper
- Electrical wire
- Junction box
- Light fixture with mounting hardware
- Light switch
- Silicone caulk
- Wire nuts
Keep these tools close by to make sure your porch light project is safe and well done.
Preparing for Installation
Before starting your porch light installation, make sure to get all the tools and materials you’ll need. You’ll want a hammer, screwdrivers (both flathead and Phillips), a drill/driver, wire strippers, and a voltage tester to ensure the power is off. Safety should always come first! A voltage tester helps you stay safe from electric shocks.
It’s also crucial to measure your installation space accurately to prevent any last-minute changes. Entry lights should be about 66 to 72 inches off the ground, according to standard rules. Make sure the mounting block fits well with your siding to avoid problems.
To make good electrical connections, use lever nut wire connectors instead of the old plastic ones. Connecting wires by their color – black with black for hot, white with white for neutral, and bare copper to bare copper for ground – is essential for a secure connection. Don’t forget to seal any openings with exterior caulk to keep out water and bugs, which are common issues with outdoor lights.
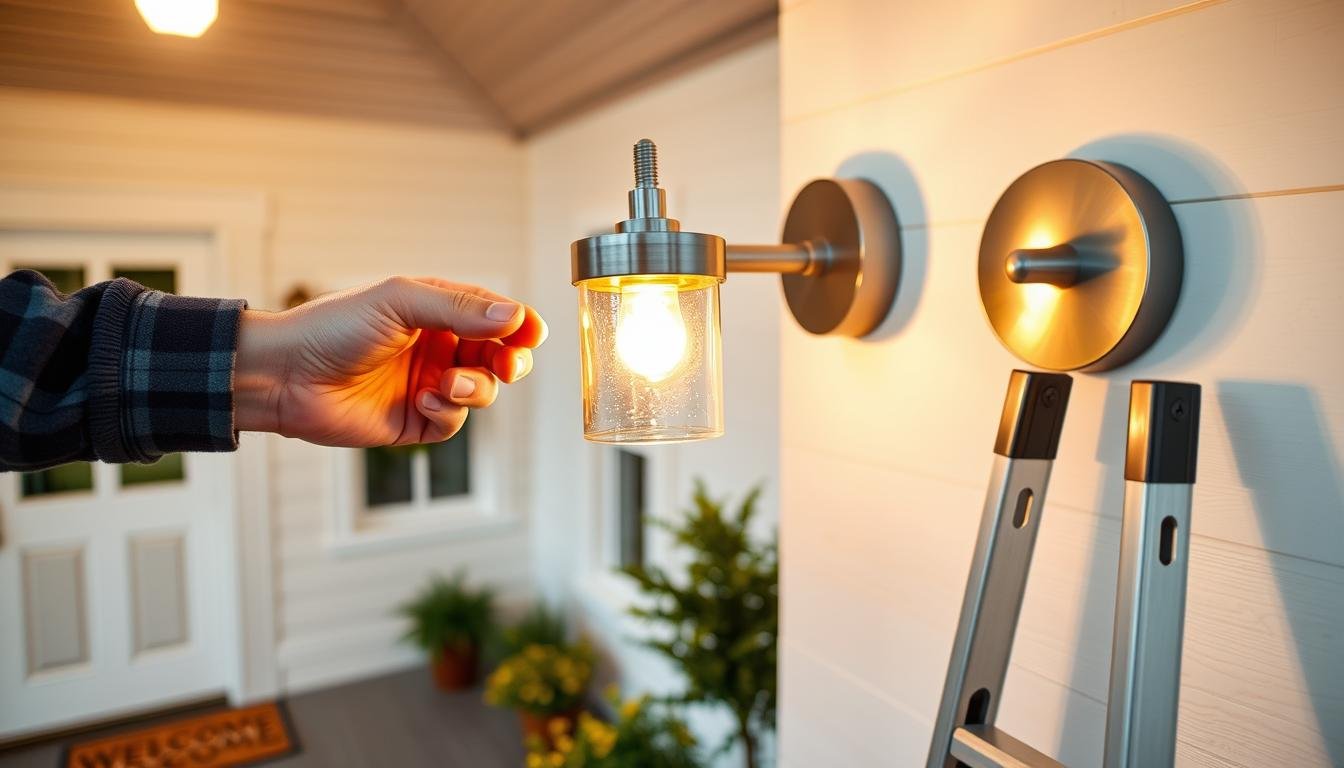
If you’re placing your porch light high up, you might need a ladder. For brick walls, a hammer drill and a masonry bit are necessary. Make sure there’s enough slack in the wiring for any adjustments and follow all safety rules. Getting the right permits for your work is also important.
Step-by-Step Installation Process
For a safe and smooth installation of your porch light, follow these steps. First, turn off the power at the breaker box for safety. If an old fixture is there, take it off carefully. You’ll usually unscrew and disconnect the wires.
Next, you’ll mount the new junction box as part of the installing porch light steps. Secure the box with a drill. It’s crucial that the box is firmly attached with screws. After that, get ready to do the wiring.
To connect the wires, use wire nuts. Match black to black (hot), white to white (neutral), and green or bare copper to the ground. It’s important that all connections are tight. Loose wires can lead to problems.
Now, it’s time to put up your new light. Align it with the junction box and screw it in well. It should sit perfectly against the wall or ceiling.
Last, turn the power back on and check your new light. If everything’s done right, it will light up your porch beautifully. This easy DIY outdoor light installation means you’ve done a great job while saving time and money.
Testing Your New Porch Light
After you install the porch light, testing it is crucial. First, turn the power back on carefully. Then, turn on the light and watch how it works.
If the light flickers, is too dim, or acts strangely, there might be a problem. You’ll have to check the connections again to make sure everything is right.
Don’t forget to test any special features like brightness control or motion sensors. Modern lights might dim at dusk and brighten when they sense motion. This saves energy and keeps your home safe.
Adding a programmable switch can save even more energy. It lets you set when the light turns on and off. Check out this guide for help with installation.
Testing and tweaking your porch light ensures it works well for a long time. Make sure everything is tight and sealed to stop water and bugs.
A bright porch is not just safe; it also makes your home look better. By following these steps, your porch light will work well and look great for years.
Maintenance Tips for Your Porch Light
Keeping your porch light in good shape is key to your home’s safety and look. Regular care helps keep away intruders by lighting up dark spots. It also stops accidents like trips and falls.
Looking after your porch lights means checking them often for damage. It’s important to inspect the wiring and connections for any moisture or debris. Keeping these parts in good condition can make your lights last 50% longer. This means you save money on replacements over time.
It’s also important to clean the light fixtures to get rid of dirt. This helps keep your lights bright and working well. Changing bulbs often, especially to energy-saving LED ones, is recommended. LED bulbs last longer and work better than older types.
Getting a professional to look after your porch lights may cost a bit more, but it’s worth it. They can find and fix 60% more issues than you might on your own. This can cut down on expensive repairs by about 40%. It also makes your lights use 10-20% less energy. Taking good care of your lights can even increase your home’s value by as much as 15%. This happens because your home looks better and feels safer.
Motion-sensor lights and smart lighting are great for keeping your porch well-lit. They turn on by themselves when someone comes close. This adds to your home’s security by keeping intruders away. It also makes it look like someone is home, even when you’re not.
The benefits of regular maintenance are many:
- It cuts down the chance of accidents by making sure places are well-lit.
- Lights and fixtures can last 25% longer.
- It helps your bulbs last 20% longer, needing less change.
- Your home can use energy better, saving you money on bills.
No doubt, taking care of your porch lights is beneficial. A little time and effort can make your entryway safe, secure, and inviting year-round.
Additional Outdoor Lighting Ideas
There’s more to outdoor lighting than just the porch light. You can add pathway lights for a nice walkway or motion sensor lights for better home security. These not only work well but also make your outdoor space look great. They fit what you need and like.
String lights are now a popular choice for outside decor, especially in areas where you hang out like patios. These lights make any outdoor place feel special and fun. Also, landscape lighting can make your garden stand out by showing off its best parts. These lights come in energy-saving types like low-voltage or solar-powered.
But there are even more ideas for porch lighting. Try adding hanging lanterns or outdoor chandeliers for a classy look. You can also use rail lights on decks or step lights to make places safer and nicer. With so many options, you can light up your outside in your own way, giving it both light and style.