Welcome to our guide on drawing a porch. We make it easy for beginners, turning complex designs into simple steps. It’s perfect for anyone wanting to try their hand at art or start a DIY project.
There are many porch styles, like farmhouse or Queen Anne. We’ll show you how to catch their beauty on paper. Don’t worry if you’re new to this. Our instructions are clear and easy to follow. You’ll be drawing like a pro soon.
Key Takeaways
- This guide provides a simple porch drawing tutorial perfect for beginners.
- Farmhouse porches typically feature an open design, making them accessible and inviting.
- Queen Anne porches are ornate and reflect Victorian aesthetic, requiring more detailed work.
- Screened porches offer larger layouts, ideal for additional furniture and decorations.
- Accurate measurements are crucial for creating a scalable porch drawing.
Understanding Porch Concepts and Styles
Choosing the right porch style can make your home look and feel better. There are many types of porches, like the rustic farmhouse or the elegant Queen Anne. We’ll look at popular styles and what makes them special.
The farmhouse porch is a classic symbol of rural American life. This style features wide steps, white railings, and ceiling fans for those hot summer days. It’s perfect for big family gatherings, needing at least 6 feet of depth for comfortable seating. For dining, 10 feet is best.
The Queen Anne porch is all about fancy details. It has turned posts, spindles, and decorative brackets for a Victorian look. These porches match the house’s intricate designs, often using column wraps for extra beauty.
Colonial porches are known for their simple beauty and symmetry. They have straight lines and simple designs, but can be made fancier with synthetic materials like AZEK® Beadboard for the ceiling. Column wraps add to their elegance too.
The Bungalow porch gives a warm, welcoming vibe, typical of Craftsman-style homes. It features tapered posts on stone or brick bases and uses natural wood. But, wood can get damaged by moisture and sun. Synthetic TimberTech Porch boards are a good choice here. They last long and resist fading, with a 50-year warranty.
Before starting a porch project, always check your local building codes. Whether you want a traditional or modern porch, knowing about different styles helps. You can choose a design that matches your home and lasts for years.
Tools and Materials You’ll Need
Starting on your porch drawing needs the best tools and materials. Having the right stuff makes your drawing accurate and nice to look at. Here is what you need to start on a good note:
- Sketching Supplies: Graphite pencils are perfect for the first drawings. You can find them from light to dark shades (2H to 9B).
- Fine Liners: Fine liners, like Pigma Micron pens in black and sepia, are great for details in your porch design.
- Paper: Use a good sketchbook or artist paper that can handle lots of erasing and layers.
- Rulers and T-Squares: These are key for straight lines and even angles, helping everything match up just right.
- Erasers: Soft erasers and ones like the Tombow Mono Zero fix mistakes but don’t ruin the paper.
- Optional Tools: Colored pencils or markers can make your drawings colorful and vivid.
Choosing the best tools and materials for porch drawing ensures your sketches are accurate. Let’s dive into some must-have sketching tools:
| Tool | Purpose | Notes |
|---|---|---|
| Graphite Pencils | Rough sketching | Pick a variety from 2H to 9B |
| Fine Liners | Detail work | Micron pens in black and sepia |
| Sketchbook | Drawing surface | Quality artist paper |
| Rulers & T-Squares | Lines & angles | Helps with evenness |
| Erasers | Fixing errors | Choose soft and precision types |
| Colored pencils or Markers | Bringing in color | Not required but adds brightness |
Step-by-Step Instructions for Drawing Your Porch
In this part, learn to draw an awesome outdoor space with porch drawing instructions. Follow these steps closely to get it right:
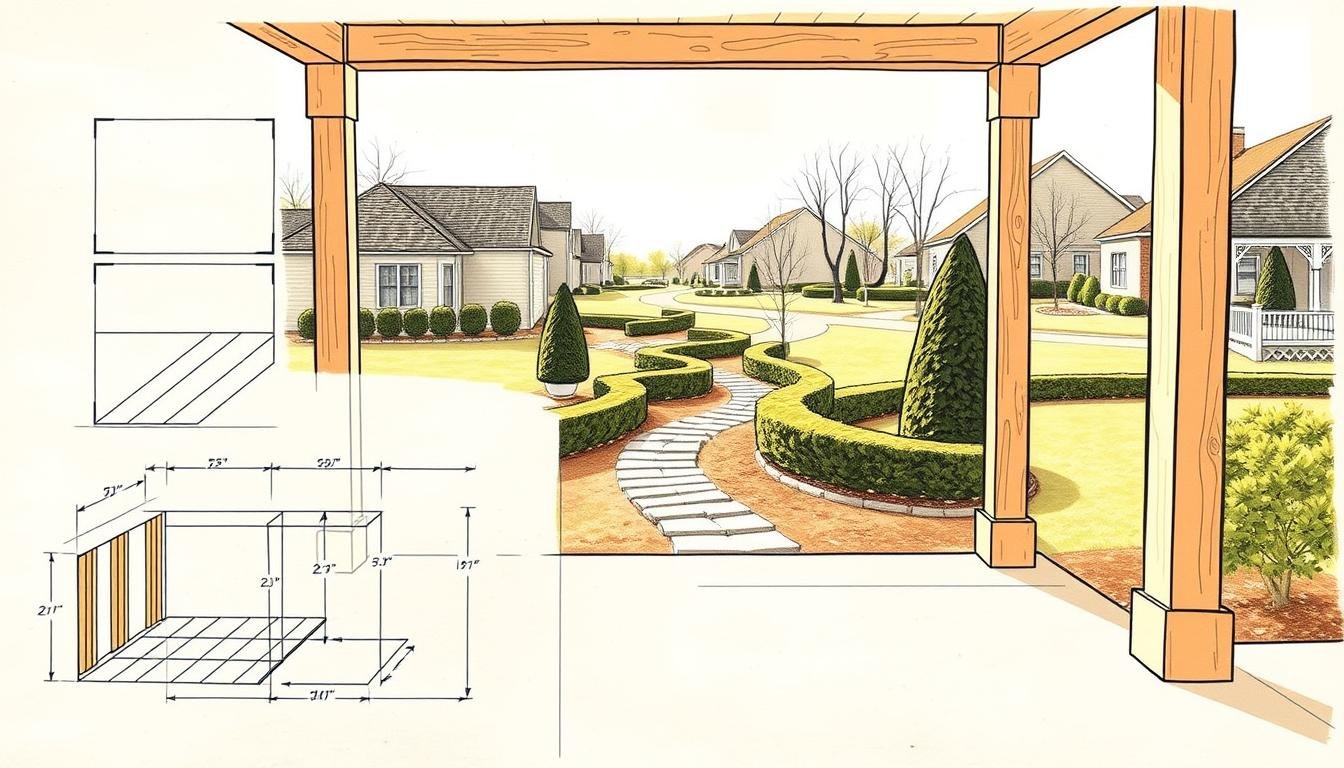
- Measure Existing Conditions: Start by measuring the spot for your porch. Getting these measurements right is very important.
- Create Accurate Elevations: Draw your porch from different views to understand its look. This shows how each part connects.
- Sketch the Basic Layout: Draw a basic outline of the porch first. Include the floor, foundation, and posts in this.
- Add the Roof Line: Next, draw the roof. Think about its slope and connection to your house. Keeping the roof well-proportioned is essential.
- Include Decorative Elements: Have fun adding decorations like railings and trim. This makes your porch design unique.
- Final Adjustments: Review and adjust your sketch as needed before building starts. This ensures your porch turns out just how you want it.
By carefully completing these porch sketch steps, you’ll design a great looking porch. Taking time to refine your sketch saves time and effort later on. To learn more about drawing porches accurately, check out more resources here.
Tips for Enhancing Your Porch Drawing
Creating a stunning porch drawing involves more than just simple lines. Adding fine details can make a huge difference. Start with getting the perspective right. Accurate lines and vanishing points add depth and realism.
A key tip for porch sketches is effective shading. It creates light and shadow illusions, giving your drawing a 3D feel. Pay attention to the light’s direction and shade your porch accordingly.
Texturing is crucial. Use it to mimic materials like wood, brick, or stone. Textures give your porch a touchable quality. Detailed drawings stand out with these realistic textures and finishes.
Feel free to explore different styles and extras to make your sketch unique. Add things like outdoor furniture, plants, or lights for more interest and functionality. Adding levels can show a space for fun, cooking, and relaxing.
When choosing furniture, think about durability and looks. Many prefer natural materials like wood and stone for their beauty and strength. Outdoor rugs should be made of strong, weather-resistant materials like polypropylene or nylon.
Outdoor lighting is also key in your porch drawing. Careful placement of lights can spotlight features and make the space usable at night. Solar-powered lights are a good choice for being eco-friendly and cheap to run.
Using these techniques and focusing on details will make your porch drawing look professional and welcoming. Keep practicing to get even better at porch drawing.
Showcasing Your Porch Drawing
Showing off your porch drawings not only showcases your creativity but has practical uses too. Begin with proper framing and preservation. Make sure it’s in a strong frame with UV glass to stop fading. This keeps your artwork looking great, ready to shine in your space.
For digital sharing, try platforms like Instagram, Pinterest, and digital galleries. Share high-quality scans to show off every detail. Adding the right hashtags helps reach folks interested in architecture and home projects. Digital portfolios let your followers see all your work in one spot.
Porch drawings can help plan your next home project. Builders and DIY fans use these sketches for permits. Make sure your drawing sticks to local codes and safety rules. Digital tools, like the Trex AR Deck Visualizer App, help with accurate plans.
Sharing art with others who get it feels great. Join online forums or art groups for feedback and ideas. This connects you with people who love architectural sketches. By sharing your porch drawing, you celebrate your work and add to the community’s creativity.