Welcome to your step-by-step guide on creating DIY porch columns. It’s a great choice for improving your home. Making your own porch columns not only makes your home look better but also fills you with pride. Whether you prefer a craftsman style or just want to enhance your porch, this project will make a big difference.
Building your porch columns can save you over $200 instead of hiring someone. With the right materials and guidance, you can greatly enhance your home’s look and value. Let’s start this DIY project and transform your home’s exterior!
Key Takeaways
- Building DIY porch columns can save you at least $200.
- Pressure-treated lumber is key for supporting the roof’s weight.
- Accurate dimensions and secure screw placement are crucial.
- Be mindful of wood quality to avoid knots larger than 1 inch.
- The project can be completed in less than 15 minutes for the base assembly.
Understanding the Importance of Porch Columns
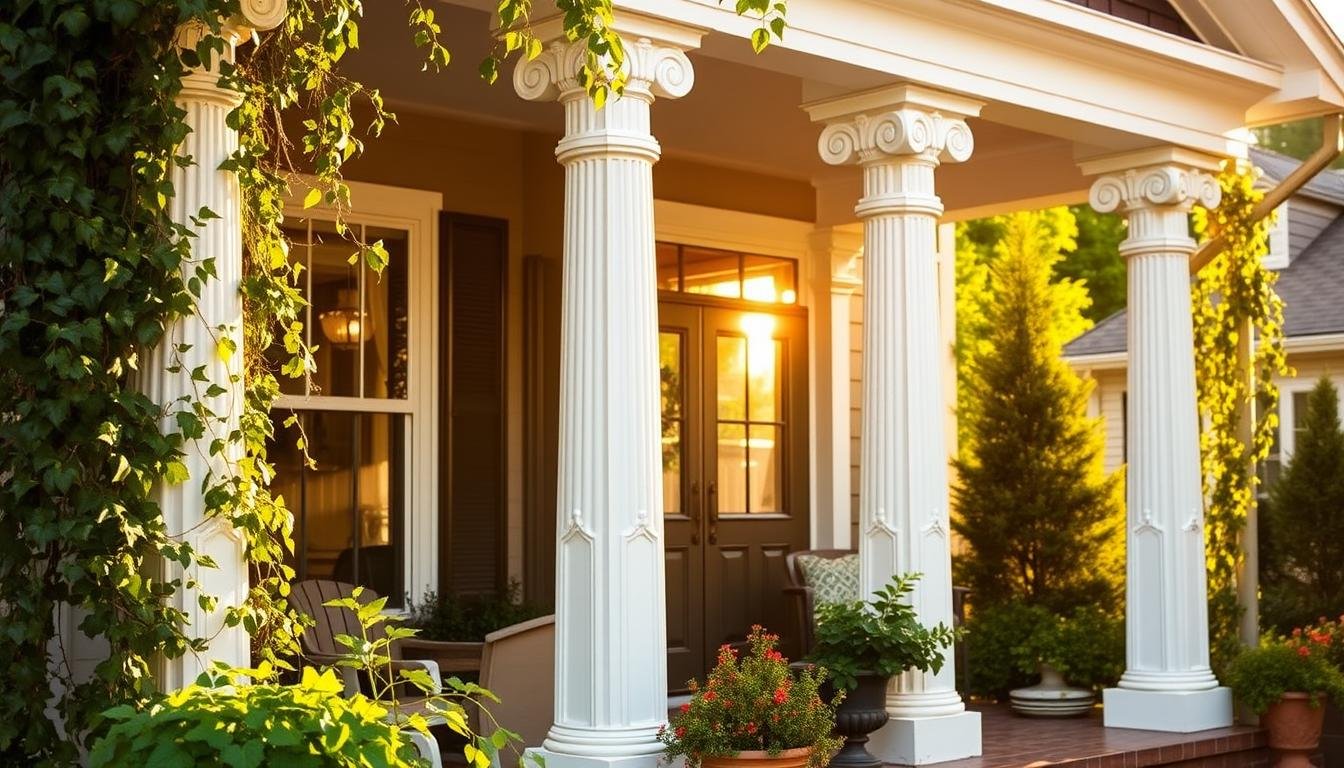
Porch columns are crucial for your home’s architecture. They provide structural support and enhance the beauty of your home. With different styles like classical Corinthian, Doric, modern, and Craftsman, these columns add unique charm.
The importance of porch columns is not just in their support. In homes with a Craftsman style, the columns improve the look of the front porch. They offer support and beauty. Using materials like Yellow Pine and African Mahogany adds durability and color options.
Choosing the right materials for porch columns is key. Yellow Pine is well-liked for its durability and cost-effectiveness. African Mahogany is prized for its rich colors. Modern designs often use PVC boards, needing an 18 gauge nailer for installation. You can find more about porch columns at This Old House.
Different woods like Spanish Cedar and Sapele have their own benefits for your design. Cedar posts are less likely to twist or warp. This helps keep your home looking good and structurally sound.
How columns are made and finished matters too. Using PVC boards and securing them with the right adhesive ensures durability. Filling seams and holes with caulk gives a smooth finish. This process enhances the beauty of your porch columns.
Tools and Materials You Will Need
Starting your porch renovation means you need the right DIY tools and materials. To build wooden columns, there are several key items you must have. Here is a list to help you get ready:
- Sliding compound miter saw
- Electric brad nailer or pneumatic nail gun (18 gauge preferred)
- Corner Cat sander
- Measuring tape
- Clamps
Now, let’s look at the main building materials you need:
| Materials | Quantity | Dimensions |
|---|---|---|
| 1×8 boards | 4 pieces | 8 feet each |
| 1×6 boards | 6 pieces | 8 feet each |
| 1×10 boards | 4 pieces | 8 feet each |
| 1×3 boards | 2 pieces | 8 feet each |
| 2-inch brad nails | 100 | N/A |
| Sandpaper | 1 pack | 220 grit |
| Wood filler | As needed | N/A |
You’ll cut the wood for the base units of columns to specific sizes. For example, cut four 1×6 boards to about 7.5 inches on one side and 9 inches on the other. It’s important that all columns are straight without any warping. This is key for looking good and staying strong.
When choosing wood, cedar is better than pressure-treated because it’s less likely to twist or warp. Also, PVC boards will be your go-to for building. They last a long time and look great.
For the final steps, pick high-quality stains like BEHR Stain and Waterproof Sealer in Chocolate and Behr Marquee Exterior Satin Enamel Paint in Creek Bend. Remember to use liquid nails construction adhesive to put the boards together well.
This project, with some planning and the correct materials, can be a rewarding weekend task. It will make your home look better and increase its value.
Step-by-Step Guide to Building Porch Columns
Start building your porch with our easy guide. We cover everything from picking materials to installing a strong foundation. With our tips, you’ll get a professional look and save money.
First, collect your materials. You can pick wood, fiberglass, or PVC for your columns. Each choice has its own ups and downs. For example, wood needs extra care to avoid rot and bugs. Here’s what you’ll need:
- Measuring tape
- Saw
- Drill
- Anchor bolts
- Construction adhesive
- Safety equipment (gloves, goggles, dust masks)
Wear the right safety gear before you start. It’s very important, especially when drilling. Make sure to drill the holes for your anchor bolts a bit deeper than the bolts are long.
Now, get the base ready. A strong base keeps your columns upright. Put construction adhesive around the base for extra hold. Then, do these steps to add wood around existing columns:
- Measure the column height and cut wood 2 and 1/4 inches shorter for the top and bottom parts.
- Assemble the base with screws and glue.
- Place the base firmly on the ground.
- Build the column by cutting and attaching panels around the post.
- Finish off by adding decorative caps and trim. This could make your home worth up to 10% more.
Check your columns often to catch any problems early. Finding issues quickly can cut repair costs in half. If you want durable columns with less upkeep, think about fiberglass or vinyl. For those interested in being green, PVC columns are a low-pollution option. Aluminum is also a solid choice, lasting about 20 years.
Follow our guide to install your porch columns successfully. Whether you choose faux wood, stone wraps, or wood, the end result will support your home and look great. Best of all, you’ll spend way less than if you hired pros.
Finishing Touches on Your Porch Columns
After you’ve made the columns one foot wide and they match your porch design ideas, it’s time for the final steps. Picking the right wood stain is key for looks and durability. Choose a stain color that looks good with your home’s outside and pick high-quality stains. They keep the wood looking natural and protect it from the weather.
Filling nail holes is a must before staining. This makes your porch columns look smooth and professional. Pick a good wood filler, then sand it well after it dries. This makes sure the surface is smooth and ready for stain.
Adding decorative trim can really make a difference. Think about using panel molding or base cap molding for a classy finish. These trims add style and hide any flaws. Your columns will end up looking neat and well-crafted.
Here’s what you need to know about materials and costs for those final touches:
| Material | Quantity | Cost |
|---|---|---|
| Four 1 x 3″ boards for original header | 4 | $20.50 |
| Four 1 x 6″ boards for thicker header | 4 | $41.33 |
| Six 1 x 6″ boards for sides of posts | 6 | $62.08 |
| Six 1 x 8″ boards for front & back of posts | 6 | $74.12 |
| Total cost | $198.03 |
Don’t forget to use DIY finishing tips for the best look. Caulking takes effort since you have to fill many seams. But if you do it well, it will last and look clean. Finally, use a strong outdoor paint like white. It will make your project last longer and look better. Enjoy your building project!
Installing Your Porch Columns
Porch column installation is key for a good look and safety. Here is how you get them to fit well and stay upright:
First, check if your columns are for support or just for show. For the supporting kind, measure carefully to avoid problems. Wrong sizes can cause weak support or columns not lining up right.
Cut the column to your precise measurements next. For columns that come in two pieces, cut them a bit shorter than needed. For PVC columns that don’t get narrower at the top, make the filler pieces the same width inside. If the PVC columns do get narrower, cut the pieces shorter by a bit more than 2 inches.
- Begin by making holes for bolts in FRP columns for 1 3/8” L-brackets at the top and bottom.
- Make sure the weight is spread evenly on the column during the setup.
- Use a multi-cutter saw for porch posts with steel inside.
- Applying glue is important for the tops and bottoms of columns for extra hold.
Raise the beam a tiny bit, no more than 1/4″, for FRP column replacement. This small lift makes for a smooth fit without risking the structure. For PVC columns, leave a gap of at least 1/4″ for the materials to expand without issue.
Make your home exterior upgrades better with properly installed clips. Drill holes for the plastic anchors and use three clips for a tight hold. For split columns, place nylon straps 2 to 3 feet apart, especially on big columns.
Once the columns are in place, paint them with two coats of acrylic latex paint. This makes them look great and protects them from weather.
Tips for Maintenance and Longevity
Making sure your porch columns last a long time means doing regular upkeep. Check them every six months to catch issues early. Look for water at the base, soil washing away, and damp spots. These can mean the drainage isn’t good. Bad drainage can really harm the foundation and may cost a lot to fix.
For features that last outside, it’s important to clean and seal them regularly. You should do this every two to three years, depending on the weather. If there’s a lot of people walking around or if the weather is tough, you might have to redo the sealant more often. This keeps the wood safe. Wood needs sanding and sealing every 1-3 years to stop rot and bugs. But PVC and fiberglass don’t need as much work, though you should still clean them about once a year.
Having good air flow around your columns is super important. Good ventilation can cut down on moisture by up to 60%. This stops the wood from getting damaged. Use soft cleaning methods and steer clear of strong chemicals to avoid harming the surface. A sealant helps keep moisture out, stopping concrete from expanding and cracking. This keeps your porch looking great.
Following these upkeep tips can help you avoid big problems and the high cost of replacing parts. Doing the right maintenance keeps them looking good and strong. This means your porch columns will be a lasting part of your home.