You’ll need to evaluate three critical factors before selecting your front door canopy: structural load capacity, material compatibility with your existing façade, and local wind rating requirements. The right design balances weather protection with architectural proportion—typically maintaining a 1:3 ratio between canopy depth and door width. Whether you’re considering a gable, flat, or barrel-vault configuration, understanding how each style transfers snow loads and deflects rain will determine both longevity and performance.
Choosing the Perfect Canopy Style
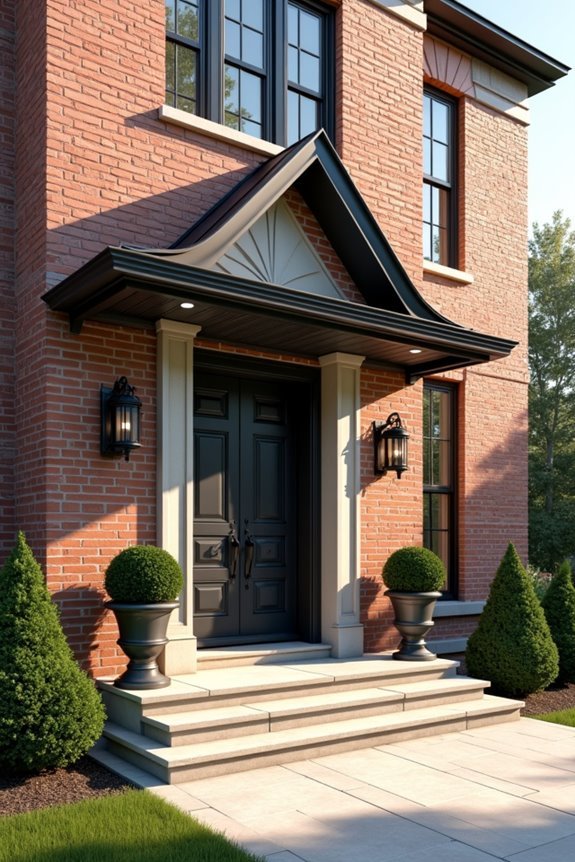
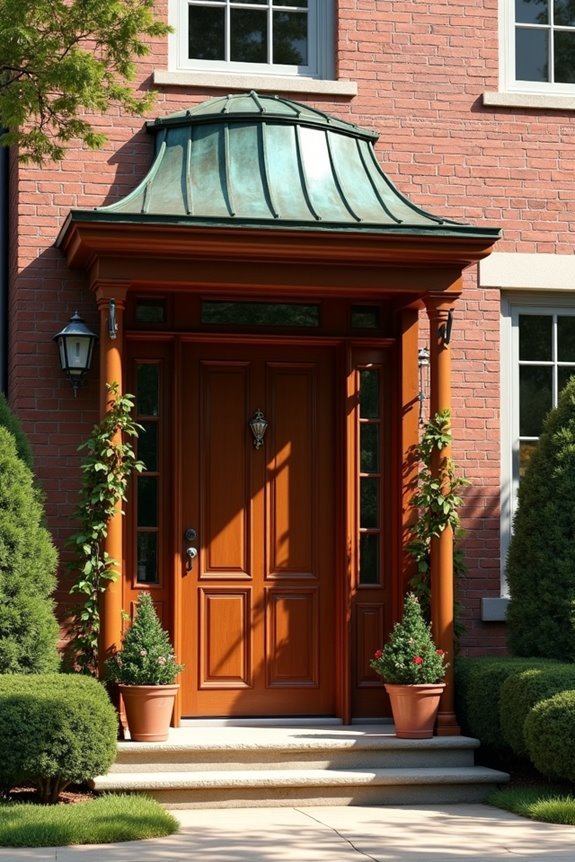
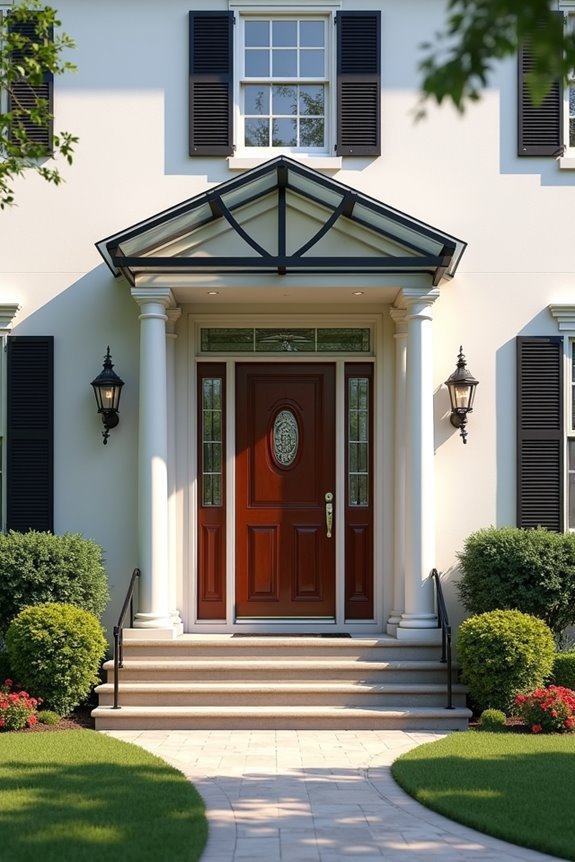
When selecting a front door canopy, you’ll need to evaluate three primary architectural considerations: structural load capacity, aesthetic compatibility with your home’s façade, and weather protection requirements. Different canopy styles serve distinct functional purposes while delivering varied design aesthetics. Gable canopies provide superior rain deflection through pitched roofing, ideal for traditional architecture. Flat canopies complement modern minimalist homes with clean horizontal lines. Curved or barrel-style options soften contemporary exteriors while directing water runoff efficiently. Your selection must account for mounting methods—wall-mounted brackets require solid backing, while post-supported structures demand proper foundation depth. Material choices between metal, wood, glass, or composite directly impact maintenance intervals and longevity. Match proportions carefully; canopy width should extend 12-18 inches beyond your doorframe for ideal coverage.
[affiai keyword=”front door canopy styles” template=”carousel” count=”3″]

【Reinforced Stone-Coated Frame】Constructed with a heavy-duty full steel frame and a stone-coated metal finish, the window door awning delivers enhanced strength, weather resistance, and a premium appearance. The steel resists rust and corrosion, while the stone coating adds UV protection, thermal insulation, and a stylish, roof-like finish. Stays stable in wind, rain, or snow with minimal upkeep—perfect for year-round use over doors, windows, patios, or balconies.

This exquisite and high quality door canopy is an easy solution to protect your door from rain, snow, hail or other weather.

Sturdy Construction: Crafted with robust ABS brackets and aluminum bars, providing top-notch stability
Material Selection and Durability
Material choice determines your canopy’s performance threshold and maintenance burden over its operational lifespan. The wood vs. metal debate hinges on environmental exposure and aesthetic requirements. Cedar and redwood offer natural weather resistance with 15-20 year lifespans when properly sealed, while pressure-treated lumber extends durability to 25 years. Metal alternatives—aluminum, steel, and copper—deliver superior longevity factors, lasting 30-50 years with minimal intervention. Aluminum resists corrosion without finishing, steel requires powder coating for weatherproofing, and copper develops protective patina naturally. Consider load-bearing capacity: metal frames support heavier glazing and wider spans. Evaluate your climate’s UV intensity, precipitation levels, and temperature fluctuations. Coastal installations demand corrosion-resistant materials, while arid regions prioritize UV stability. Match material properties to structural demands and environmental stressors for ideal performance.
[affiai keyword=”canopy building materials” template=”carousel” count=”3″]

Universal Fit: This quick and easy adjustable storm cover fits almost all standard strollers in the market, like jogging stroller, pushchair buggy, pram, etc.

UP TO 87% SHADE AND UV RESISTANT: Gorilla Grip Shade Sails will transform your patio; the thick material is UV resistant and provides up to 87 percent shade; helps you stay protected and comfortable in bright sunlight

UV PROTECTION & BREATHABLE:The shade sail is made of High Density Polyethylene fabric,which has a good shading effect.It can effectively block harmful UV rays from the sun, preventing your skin from being damaged by the sun. Permeable fabric allows air to pass freely so you can stay cool
Installation Tips and Considerations
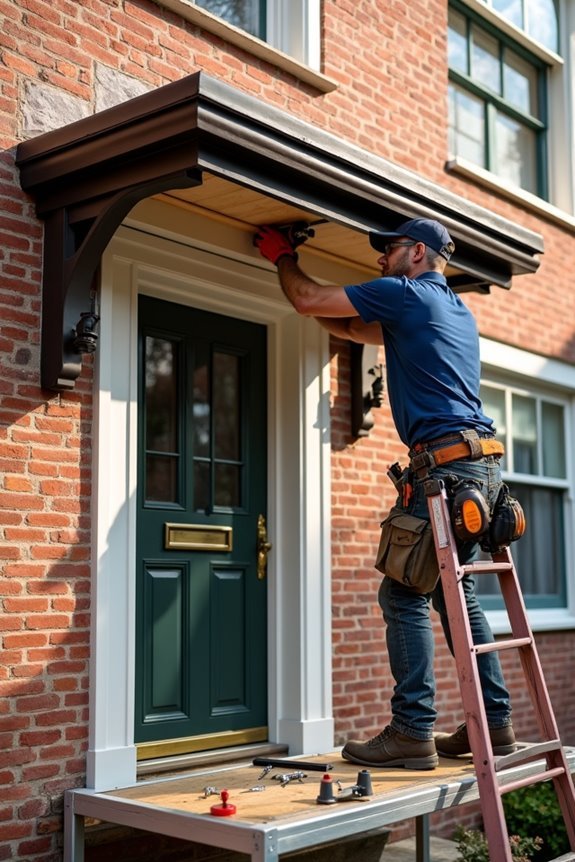
Before installation begins, verify local building codes and permit requirements—most municipalities mandate permits for permanent canopies exceeding 30 square feet or structures attached to primary dwellings. Proper installation techniques demand you identify wall studs or masonry anchors capable of supporting dead loads plus snow accumulation. You’ll need lag bolts (minimum 3/8-inch diameter) penetrating studs at least 3 inches for adequate load transfer. Safety precautions include wearing protective eyewear when drilling overhead and using scaffolding rather than ladders for prolonged work. Seal all penetrations with exterior-grade caulk to prevent water infiltration behind siding. For pitched canopies, guarantee minimum 2:12 slope for drainage. Consider hiring licensed contractors for complex installations involving electrical integration, structural modifications, or rooflines exceeding single-story height.
[affiai keyword=”permanent canopy installation supplies” template=”carousel” count=”3″]
Lighting Integration for Ambiance
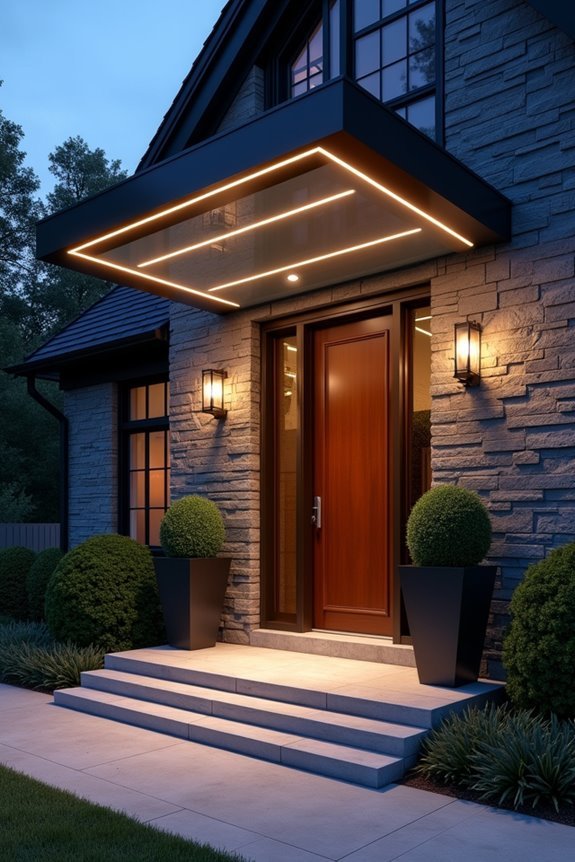
As illumination transforms functional entryways into welcoming thresholds, your lighting selections must balance aesthetic appeal with practical requirements. Install recessed downlights within canopy soffits to create ambient lighting that eliminates harsh shadows while maintaining architectural harmony with your structure’s design language. Position fixtures at 24-36 inch intervals for uniform coverage across canopy depths exceeding four feet.
Consider LED strip lighting along canopy edges or support beams to accentuate structural elements during evening hours. Wall-mounted sconces flanking your doorway complement overhead fixtures while reinforcing vertical design lines. You’ll need dimmable systems with 2700-3000K color temperatures to establish warm, inviting atmospheres without compromising visibility.
Integrate weather-resistant fixtures rated IP65 or higher, ensuring longevity under exposure to moisture and temperature fluctuations inherent to exterior applications.
[affiai keyword=”recessed led downlights outdoor” template=”carousel” count=”3″]

CANLESS: The canless recessed lighting design eliminates the need for housing, making this 6 inch LED recessed light perfect for new construction and remodel projects

【Anti-Glare & Eye Comfort】Our LED downlight has an anti-glare design. A 1-inch deep recessed baffle and COB optical lens work together to eliminate harsh light, creating a flicker-free, soft glow. This reduces eye irritation and strain, providing a comfortable lighting experience.

【Anti-Glare & Eye Comfort】Our LED downlight has an anti-glare design. A 1-inch deep recessed baffle and COB optical lens work together to eliminate harsh light, creating a flicker-free, soft glow. This reduces eye irritation and strain, providing a comfortable lighting experience.
Seasonal Decorating and Customization

Your canopy’s architectural framework provides permanent structural foundations for rotating decorative displays that celebrate shifting seasons and holidays throughout the year. Install discrete mounting points along canopy edges to accommodate wreaths, garlands, and hanging arrangements without compromising structural integrity. Select decorative accents that complement your canopy’s material palette—copper vessels for metal awnings, woven elements for wooden structures. Establish a seasonal themes rotation schedule: spring florals, summer tropicals, autumn harvests, winter evergreens. Utilize removable hooks rated for outdoor exposure, spaced 12-16 inches apart for balanced visual weight distribution. Consider lighting-integrated decorations that coordinate with existing fixtures. Maintain proper clearance specifications—minimum 6 inches from heating elements, adequate drainage pathways for snow-laden ornaments. Your customization approach should enhance rather than obscure your canopy’s architectural features.
[affiai keyword=”seasonal canopy decorations” template=”carousel” count=”3″]
Budget-Friendly Canopy Options
Cost-effective canopy solutions don’t require sacrificing structural integrity or aesthetic appeal when you select materials strategically and optimize construction methods. DIY canopies utilize pressure-treated lumber frames with polycarbonate panels, delivering weather resistance at 40% lower costs than prefabricated alternatives. You’ll achieve substantial savings by sourcing reclaimed wood beams for support brackets and repurposing corrugated metal roofing panels. Budget materials like PVC trim boards provide rot-resistant fascia details when properly sealed. Engineered designs using 2×6 rafters on 16-inch centers maintain load-bearing standards while minimizing material waste. Consider installing standing-seam metal roofing remnants or architectural shingles matching your home’s existing profile. Simple gable configurations reduce cutting complexity and installation time, translating directly to reduced labor expenses without compromising canopy functionality or longevity.
[affiai keyword=”budget-friendly canopy materials” template=”carousel” count=”3″]
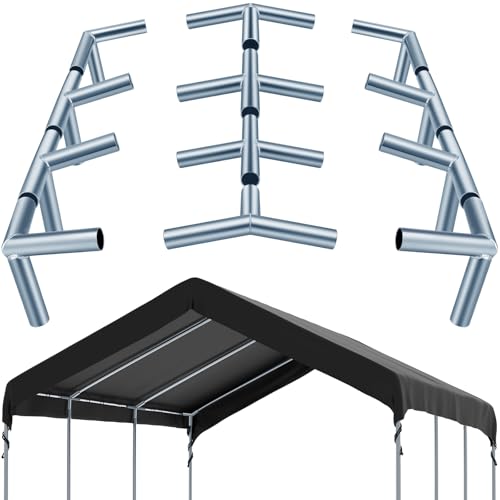
Complete Package for Comprehensive Needs: this package includes 12 canopy fittings, providing the nice solution to your canopy setup needs; You can assemble a sturdy 8 legged frame and enjoy an easy installation process with these fittings; They offer versatility and can be applied in different applications

These are replacement parts for those canopies that no longer sell parts. You can customize the length and holes to your own requirements.

This are easy to use
Matching Canopies With Architecture
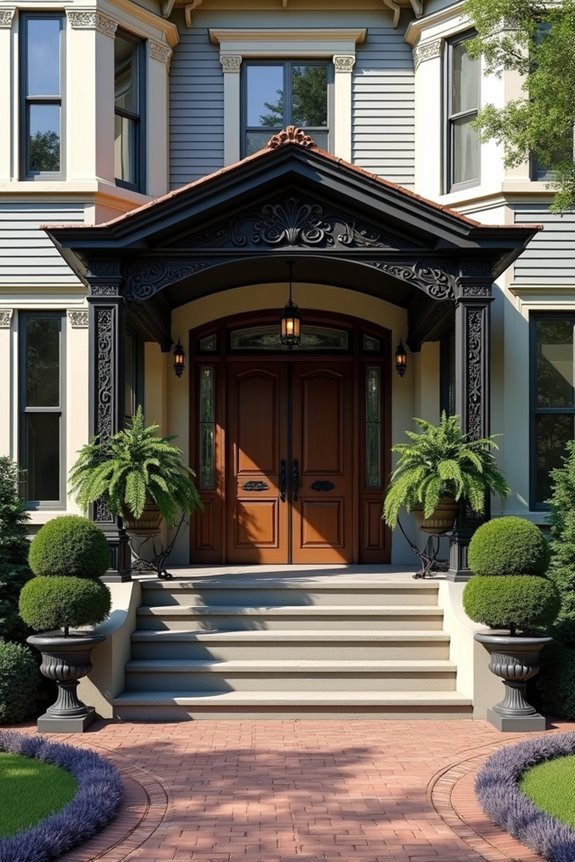
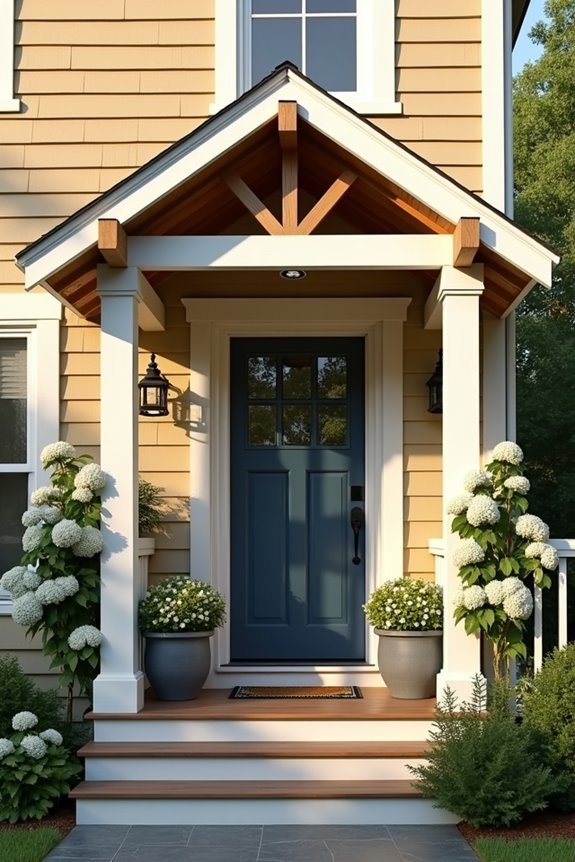
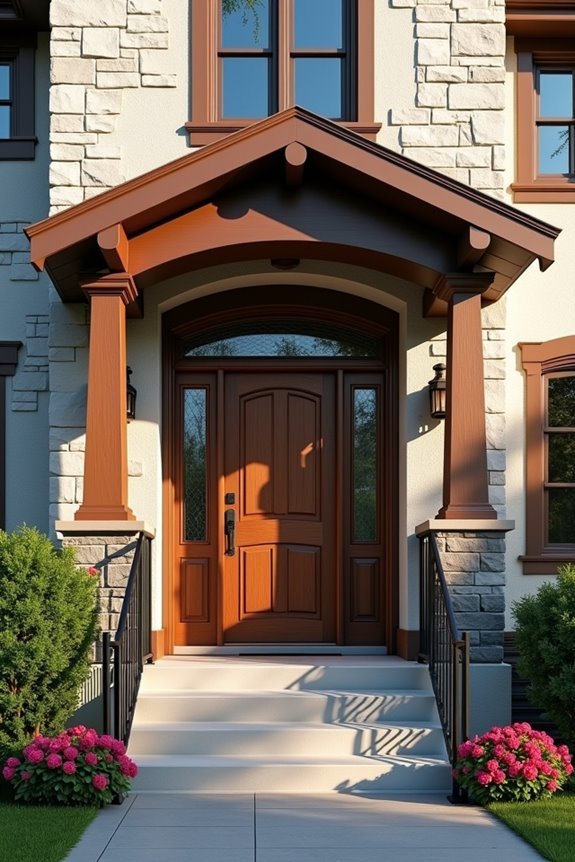
When selecting canopy designs, you must analyze your home’s architectural lineage to establish proper proportional relationships and stylistic consonance. Victorian homes require ornate brackets with decorative scrollwork, while mid-century modern structures demand clean horizontal lines and minimal embellishment. Colonial facades benefit from pediment-style canopies with classical dentil molding, creating archway alignment that echoes existing door casings and window headers.
You’ll achieve architectural harmony by matching materials to your home’s primary construction elements. Brick exteriors pair effectively with metal canopies featuring complementary powder-coated finishes. Wood-sided homes accommodate timber-frame structures with exposed joinery. Calculate canopy depth at one-third your door width, guaranteeing proper scale relationships. Pitch angles should mirror existing rooflines within two degrees, maintaining visual continuity across elevations. Consider structural load paths when mounting brackets to guarantee adequate support distribution.
[affiai keyword=”custom architectural canopies” template=”carousel” count=”3″]
Weather Protection and Functionality
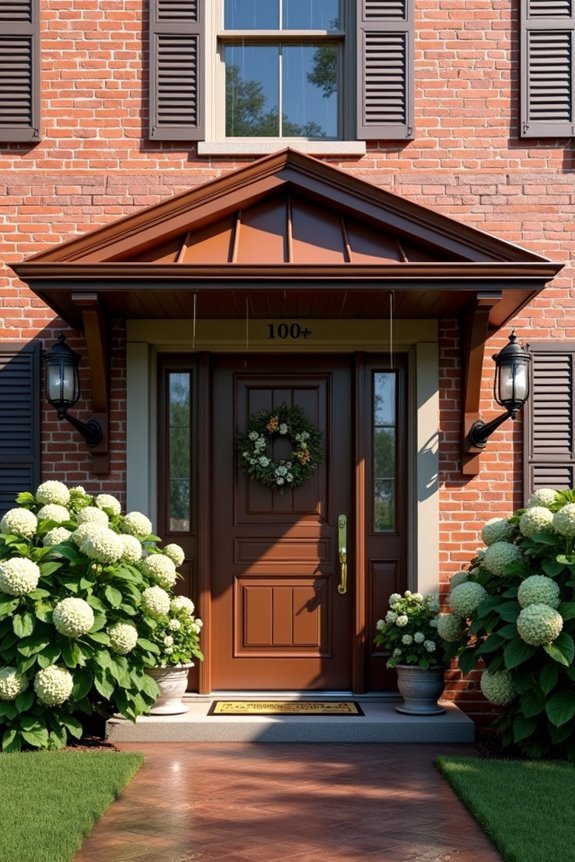
Beyond aesthetic considerations, front door canopies must deliver quantifiable protection against precipitation, wind-driven rain, and solar exposure. Your canopy’s projection should extend 36-48 inches from the door threshold to prevent water intrusion during typical rainfall conditions. Weather resistance depends on proper pitch angles—minimum 3:12 slope for adequate drainage—and sealed connections between roofing materials and mounting surfaces.
Functional design requires evaluating your region’s climate data. You’ll need UV-resistant materials in high-sun areas and reinforced framing where snow loads exceed 20 pounds per square foot. Consider incorporating gutters and downspouts to manage runoff effectively. The canopy’s width should exceed your door width by 12-18 inches on each side, creating lateral protection zones. Proper flashing integration with existing wall assemblies prevents moisture penetration and structural deterioration.
[affiai keyword=”front door canopy” template=”carousel” count=”3″]

DURABLE FABRIC: 300D polyester with PU lining, which is 100% waterproof and able to block 99% UV sun rays.[Central Zipper Design] For easy entry and exit, closes the sidewall with zipper to protect your privacy and security while camping or doing wild adventure.

This exquisite and high quality door canopy is an easy solution to protect your door from rain, snow, hail or other weather.

Efficient Drainage Design:This awning for door entrance features an upgraded drainage groove that quickly channels rainwater away.It keeps your doorway,porch,or patio dry while adding a sleek,modern look to your exterior
Maintenance and Cleaning Requirements
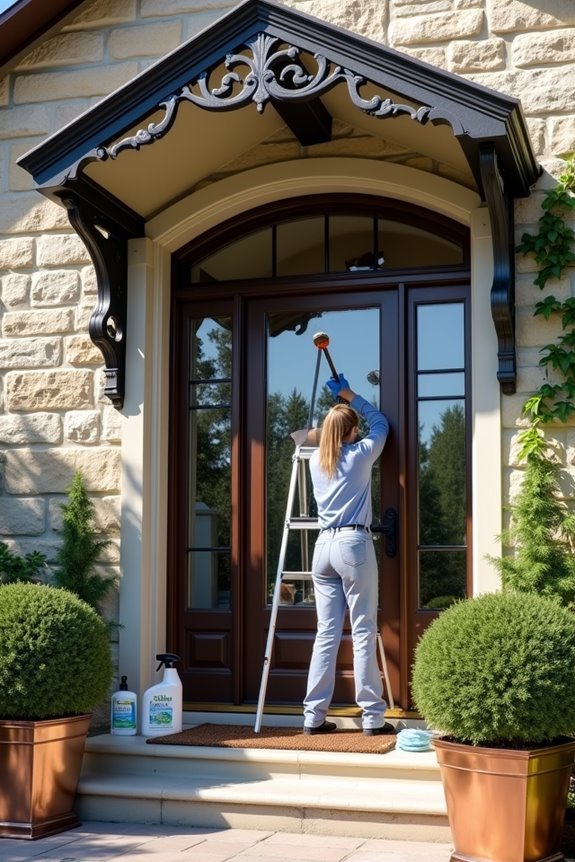
Every front door canopy requires scheduled maintenance protocols to preserve structural integrity and weatherproofing performance. You’ll need to establish cleaning frequency based on your canopy’s material composition—metal structures demand quarterly inspections for corrosion, while fabric variants require monthly debris removal.
Essential maintenance tips include examining fasteners for loosening, checking seals for degradation, and clearing drainage channels to prevent water accumulation. Glass canopies necessitate streak-free cleaning solutions applied biweekly, whereas polycarbonate panels resist scratching with microfiber applications. You should document structural defects immediately, addressing rust spots with appropriate primers before full deterioration occurs.
Wooden canopies demand annual resealing treatments, protecting against moisture infiltration and UV degradation. Implement preventive measures by trimming overhanging vegetation that deposits organic matter, accelerating material breakdown and compromising your canopy’s protective capabilities.
[affiai keyword=”front door canopy maintenance” template=”carousel” count=”3″]
Permit and HOA Requirements
Before installing your front door canopy, you’ll need to verify compliance with local building codes and homeowners association regulations that govern exterior structural modifications. Municipal zoning regulations typically specify setback requirements, maximum projection distances, and height restrictions for canopy installations. You’ll likely need a building permit for structures exceeding specific dimensions or those requiring permanent foundation work.
HOA guidelines often impose design restrictions regarding materials, colors, and architectural styles to maintain neighborhood aesthetics. Submit detailed plans showing canopy dimensions, attachment methods, and materials before purchasing components. Review covenant documents for approval timelines—some associations require 30-60 days processing. Non-compliance can result in fines, mandatory removal, or legal action. Contact your building department and HOA directly to obtain specific requirements for your jurisdiction.
[affiai keyword=”front door canopy” template=”carousel” count=”3″]
Color and Finish Choices
While architectural compatibility drives initial canopy selection, color and finish decisions determine how effectively your installation harmonizes with existing exterior elements. You’ll need to evaluate three primary finish categories: powder-coated metals, stained woods, and painted surfaces. Each offers distinct durability profiles and maintenance requirements.
Color psychology influences perceived entry prominence—darker hues recede visually while lighter tones advance. Consider your home’s trim colors, roofing materials, and masonry when selecting complementary or contrasting schemes. Finish durability varies considerably by material: powder coating resists UV degradation for 10-15 years, marine-grade stains require reapplication every 3-5 years, and exterior-grade paints maintain adhesion for 7-10 years. Match your finish selection to local climate conditions and exposure levels for ideal longevity.
[affiai keyword=”exterior paint for canopy” template=”carousel” count=”3″]