
You’ll need reliable window protection when severe weather threatens your property, but professional installation costs can quickly exceed your budget. Before you invest in commercial solutions, you should understand the proven DIY methods that meet safety standards while saving you considerable expense. From code-compliant storm shutters to impact-resistant films, each protection method requires specific materials, proper installation techniques, and regular maintenance to guarantee your windows withstand high winds and flying debris when it matters most.
Storm Shutter Installation Guide
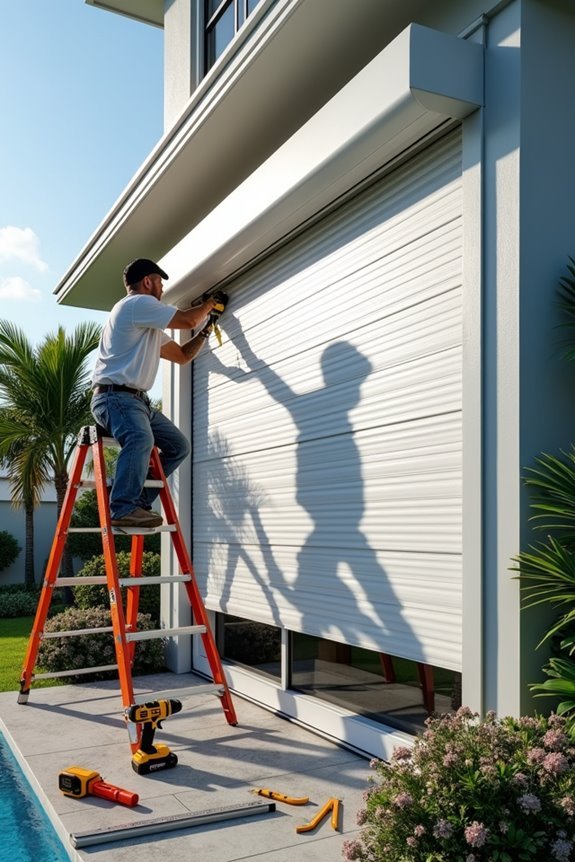
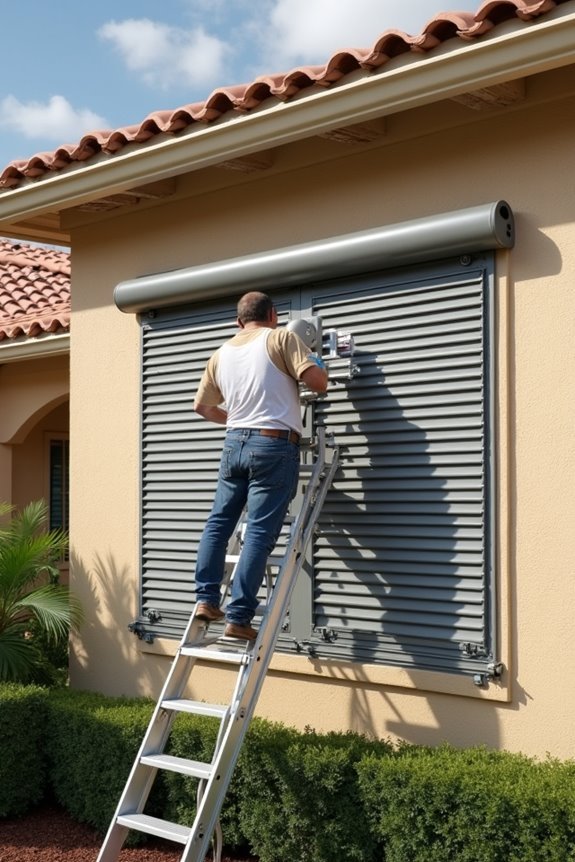
Before you begin installing storm shutters, you’ll need to assess your window openings and select the appropriate mounting hardware for your home’s exterior material. Measure each window precisely, accounting for frame depth and clearance requirements. Different storm shutter materials—including aluminum, steel, and impact-resistant polycarbonate—require specific fasteners and anchoring systems.
Choose from various shutter design options: accordion-style, roll-down, or panel configurations. Each design demands unique installation procedures. Mark mounting locations using a level, guaranteeing proper alignment. Pre-drill pilot holes to prevent material cracking. Secure anchors into structural framing, not just exterior cladding, for maximum wind resistance.
Always wear safety glasses and gloves during installation. Verify that all fasteners meet local building codes and wind-load specifications. Test operational mechanisms before severe weather approaches to confirm reliable deployment.
[affiai keyword=”storm shutters installation” template=”carousel” count=”3″]

Suitable for the replacement, mounting, stabilizing and fastening of hurricane boards, window shutters, fabric panels before hurricanes arriving

Hurricane Hardware Shutter Mounting Kit with Hanger Bolts & Wing Nuts

Abundant to Use: our comprehensive package includes 24 pieces 1/4"-20 x 1-1/2" slotted sidewalk bolts 18-8 stainless steel, 24 pieces 1/4"-20 machine screw masonry anchors, 1 piece setting tool for proper machine screw anchor installation
Measuring Your Window Openings
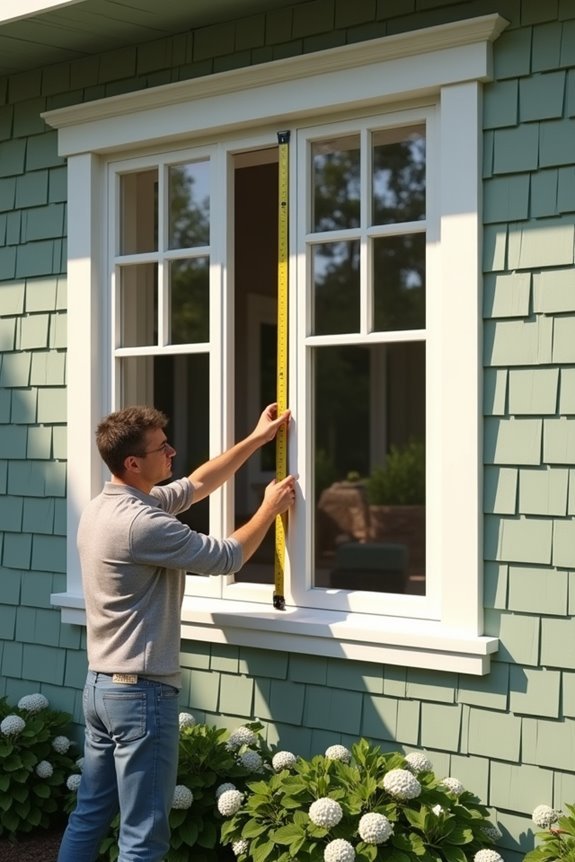
Accurate window measurements form the foundation of successful storm shutter installation and require three critical dimensions: width, height, and depth. You’ll need to measure the window’s width at the top, middle, and bottom, recording the smallest measurement to guarantee proper fit. Similarly, measure the height on both sides and the center, using the smallest figure. Don’t forget to measure the depth from the exterior wall surface to the window frame’s edge.
Record all window dimensions in a dedicated notebook, labeling each opening by location. Account for opening adjustments when obstructions like trim, electrical fixtures, or drainage systems exist. You’re establishing a margin of error by subtracting one-quarter inch from final measurements, preventing installation complications and guaranteeing adequate clearance for shutter mounting hardware.
[affiai keyword=”storm shutters” template=”carousel” count=”3″]
Tools and Materials Needed

With your measurements documented, you’ll need specific equipment to execute the installation safely and efficiently. Essential tools include a cordless drill, level, tape measure, hacksaw, and appropriate fasteners for your chosen protection method. Don’t compromise on safety equipment—invest in protective eyewear, work gloves, and hearing protection when operating power tools.
Your material selection depends on budget considerations and protection requirements. Plywood sheets offer economical storm protection, while polycarbonate panels provide superior impact resistance. Hurricane shutters, security screens, or window film each require specialized mounting hardware.
Create a detailed checklist before purchasing materials. Verify compatibility between fasteners and your window frame construction—masonry anchors for brick, wood screws for timber frames. Quality materials prevent installation failures and guarantee optimal protection performance.
[affiai keyword=”storm protection materials and tools” template=”carousel” count=”3″]

Connectable accessory storage system to optimize storage space of the drill bits set

Optimal Performance: 20V MAX* lithium-ion battery always ready for your next project
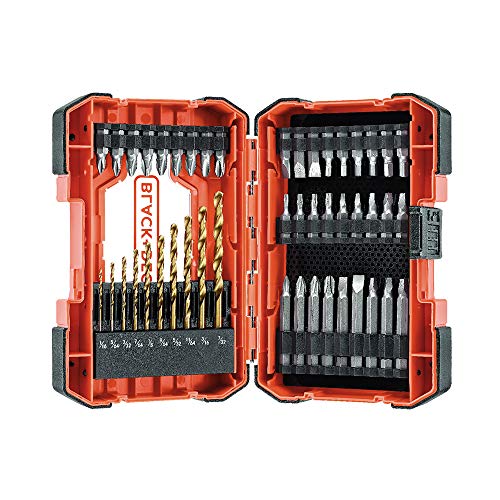
Your Go-To Drill Bit Set: including drill bits From 1/16" to 7/32", this screwdriver and drill bit set handles almost any task around your home
Mounting Hardware Installation Steps
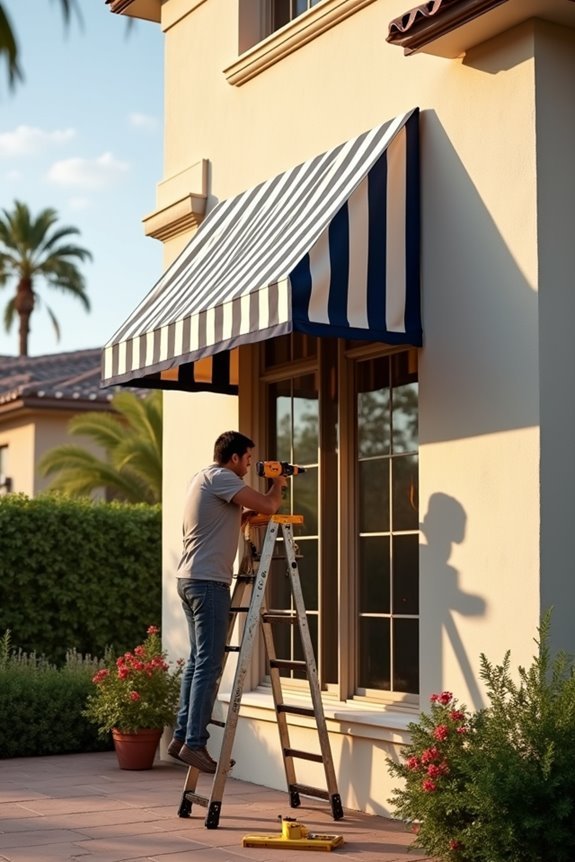
Mark your drill points precisely on the window frame or surrounding wall structure where the mounting brackets will attach. You’ll need to verify there’s adequate support behind your chosen location using a stud finder. Proper hardware selection depends on your wall type—use masonry anchors for concrete, toggle bolts for hollow walls, or wood screws for studs.
Pre-drill pilot holes slightly smaller than your fastener diameter to prevent splitting or cracking. Confirm your drill bit matches the specific mounting techniques required for your protection system. Insert anchors flush with the surface, then secure brackets using appropriate torque—overtightening compromises structural integrity.
Always wear safety glasses during installation and double-check that all hardware sits level before final tightening. Test each mount’s stability before attaching your window protection panels.
[affiai keyword=”window mounting hardware” template=”carousel” count=”3″]

【Important Reminder】 Please ensure your window opening is wider than 16 inches before installation. If any accessories are missing, contact our customer service and we will resolve it promptly.

Heavy Duty Steel Construction: Cestluck ac window bracket is built with a durable epoxy-coated finish that resists rust and corrosion. It is crafted from heavy-gauge steel to provide superior stability and strength and support up to 350 lbs

【Heavy-Duty & Durable】Window AC support bracket is made of high-quality steel with rust-resistant coating and supports up to 300 lbs. It fits 5,000–24,000 BTU window air conditioners and remains stable in harsh weather.
Securing Panels to Frame
Once your mounting hardware is firmly in place, position the protective panel against the brackets and align it according to the manufacturer’s specifications. Proper panel alignment guarantees maximum protection and prevents stress points that could compromise structural integrity. Insert fasteners through pre-drilled holes, tightening them in a cross-pattern to distribute pressure evenly across the panel surface.
You’ll need to verify that each connection point maintains consistent tension without over-tightening, which can crack the protective material. Check frame reinforcement by applying gentle pressure to test stability. If you detect any movement or gaps, adjust the fasteners immediately. Don’t proceed until the panel sits flush against the mounting surface with zero wobble. This secure installation will withstand severe weather conditions effectively.
[affiai keyword=”protective panels for frames” template=”carousel” count=”3″]

【PROTECT CORNERS】Window Grid Kit effectively protect corners and edges from daily wear and tear, reducing damage caused by bumps and friction. Ideal for maintaining a clean and polished look in your home
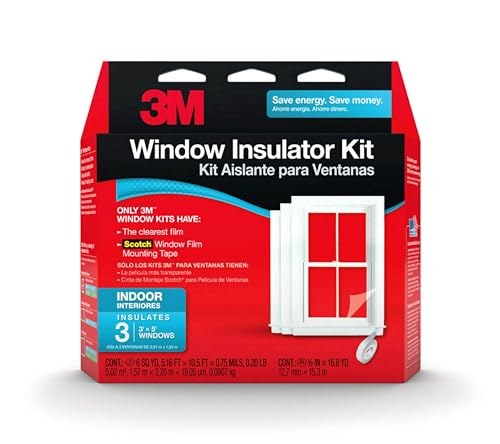
Scotch double sided tape holds firmly between films and surfaces

Perfect Fit & No Drilling Required: Engineered exclusively for 2018-2026 Wrangler JL hardtops. Our kit installs in minutes using existing hardtop points—no drilling, no modification, no paint damage. Get a rock-solid, factory-like fit
Weather Seal Application Tips
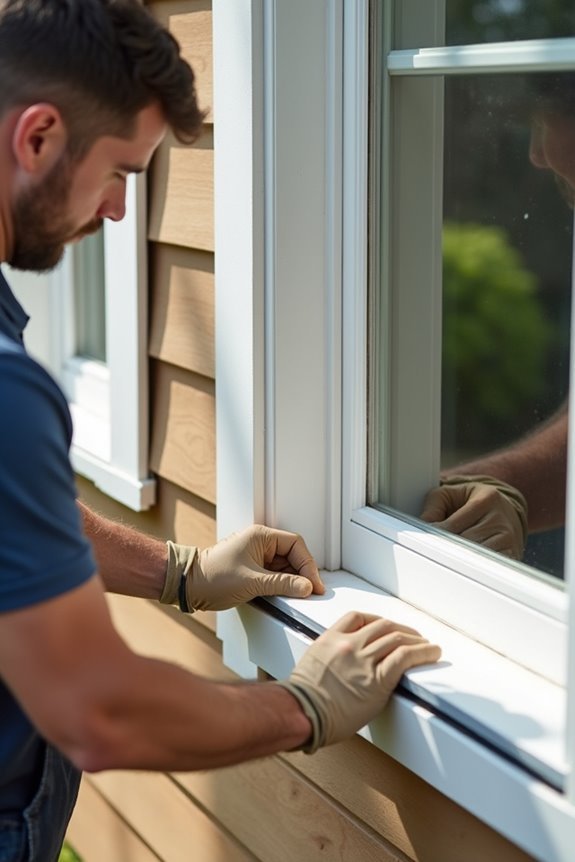
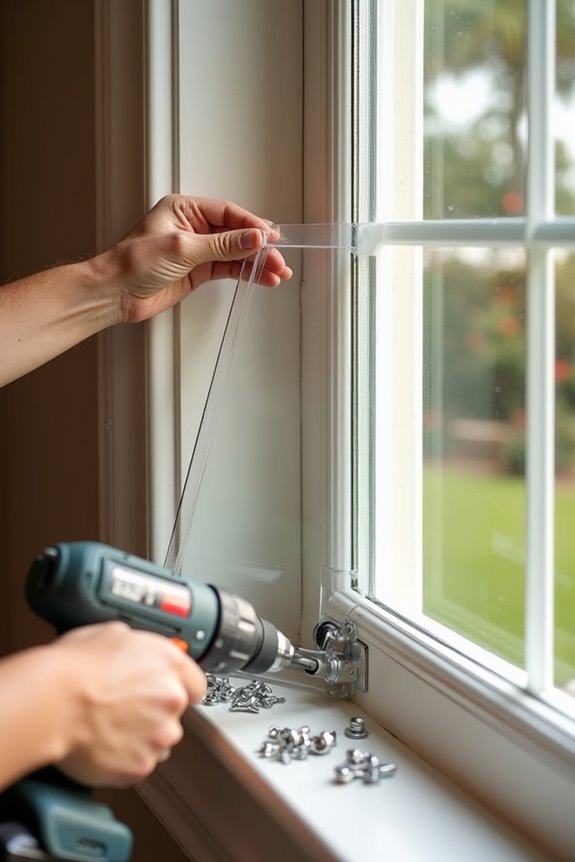
Before applying any weather seal, clean all mounting surfaces with isopropyl alcohol to remove debris, dust, and oils that compromise adhesion. Evaluate weather stripping options based on your specific gap dimensions and exposure conditions. Self-adhesive foam works for gaps under 1/4 inch, while V-strip accommodates wider variations. You’ll achieve ideal sealant application by maintaining consistent bead thickness and avoiding gaps in coverage. Work in temperatures between 40-90°F for proper curing. Don’t stretch adhesive-backed materials during installation, as this causes premature failure. Apply continuous pressure for 30 seconds at each section to guarantee bonding. Inspect corners and joints carefully—these areas require extra attention to prevent water infiltration. Always wear safety glasses when cutting materials and gloves when handling chemical sealants.
[affiai keyword=”weather stripping materials” template=”carousel” count=”3″]

[Newly upgraded mesh adhesive]: The upgraded mesh adhesive ensures the longest adhesion, is easy to operate, and is highly prone to peeling and sticking. Moreover, the presence of grid lines can ensure that the adhesive is firmly attached to the strip without leaving any traces
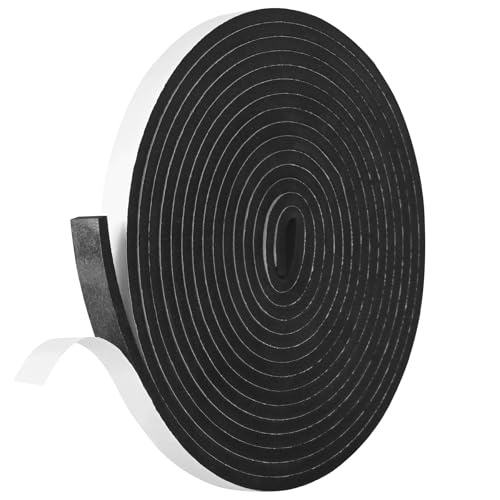
【Size of This Foam Tape】1/2 inch Wide x 1/4 inch Thick x 16.5 ft Long x 1 roll. The Neoprene sponge foam tape is easy enough to customize and cut to size with scissors or blade, and bend easily and conform to any shape

【WEATHER STRIPPING DOOR SEAL】- EVA window seal,high resilience,flexible enough.
Testing Shutter Strength and Stability
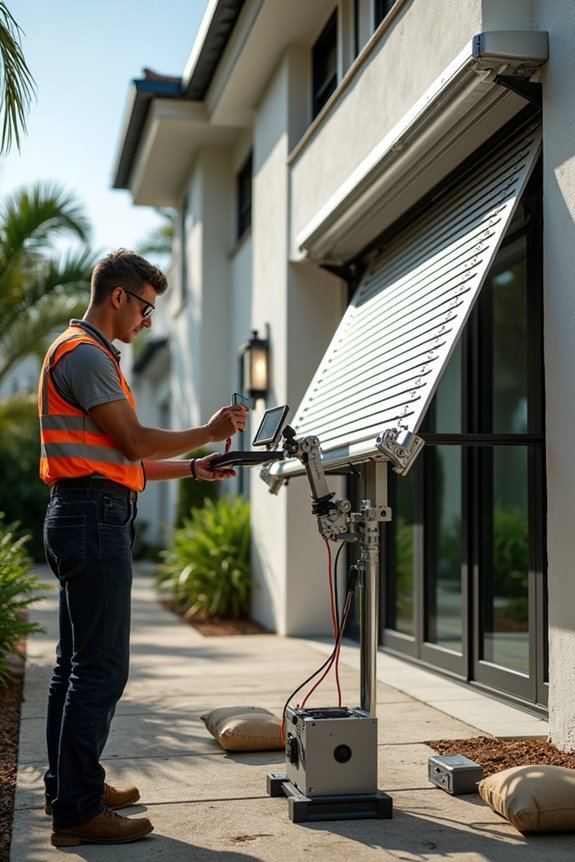
Proper load testing of your DIY shutters determines whether they’ll withstand storm conditions or become hazardous projectiles. Begin shutter durability testing by applying incremental pressure at multiple mounting points, checking for flexing, warping, or fastener movement. You’ll need to verify each panel can resist at least 130 mph wind loads—approximately 30 pounds per square foot of lateral force.
For impact resistance assessment, simulate debris strikes using sandbags dropped from controlled heights. Test corner joints and center spans where structural failure typically occurs. Examine all hardware connections after each test cycle, replacing any components showing stress fractures or deformation.
Document results systematically, noting weak points requiring reinforcement. Failed shutters must be rebuilt before deployment—compromised protection endangers both property and occupants during severe weather events.
[affiai keyword=”shutter strength testing” template=”carousel” count=”3″]
Maintaining Shutters Between Storms
After verifying your shutters meet performance standards, implement a regular maintenance schedule to preserve their protective capabilities. Inspect hardware quarterly for corrosion, loose fasteners, and structural integrity. Apply corrosion-resistant lubricant to hinges, tracks, and locking mechanisms. These shutter maintenance tips prevent operational failures during deployment.
Clean panels with mild detergent solutions, removing salt deposits and debris that compromise material strength. Store removable shutters in climate-controlled environments, stacking them vertically to prevent warping. Document panel positioning with photographs for efficient reinstallation.
Effective storm preparedness strategies include replacing damaged components immediately and maintaining adequate fastener inventories. Test deployment procedures annually, timing installation speed and identifying potential obstacles. You’ll guarantee reliable protection when severe weather threatens your property.
[affiai keyword=”shutter maintenance products” template=”carousel” count=”3″]
Common Installation Mistakes to Avoid

When installing window protection systems, inadequate substrate assessment creates catastrophic failure points that compromise structural integrity during high-wind events. You’ll find that incorrect measurements lead to gaps where wind-driven debris penetrates, rendering your protection ineffective. Always verify your dimensions twice before cutting materials.
Improper alignment causes uneven load distribution across mounting points, weakening the entire system. You must confirm panels sit flush against the substrate using a level for precise positioning. Avoid over-tightening fasteners, which can strip threads or crack the material. Under-tightening compromises hold strength during storm conditions.
Never install into mortar joints alone—anchor points require solid structural elements. Skip caulking around penetrations, and you’re inviting water infiltration that damages both the protection system and your home’s envelope.
[affiai keyword=”window protection systems” template=”carousel” count=”3″]
Local Building Code Requirements

Before you install any window protection system, you must confirm compliance with your jurisdiction’s building codes, as violations result in fines, mandatory removal, and potential insurance claim denials during storm damage. Contact your local building department to obtain current building regulations specific to hurricane shutters, impact-resistant windows, or security bars. Most jurisdictions require permits for permanent installations and mandate specific safety standards regarding egress requirements, particularly for bedroom windows. Your system must allow emergency escape while providing adequate protection. Additionally, homeowners’ associations often impose their own restrictions beyond municipal codes. Confirm wind load ratings match your region’s requirements, typically referenced in the International Building Code. Professional inspections ensure your installation meets structural attachment specifications. Document all permits and approvals for future property transactions and insurance verification purposes.
[affiai keyword=”hurricane shutters impact-resistant windows security bars” template=”carousel” count=”3″]